When it comes to rules for painting interior doors, there should always be a list of steps to follow to ensure your paint job comes out perfect every time. Painting doors may seem like an easy, straightforward task, but they can be tricky, and could even lead to injury if not handled properly. There’s quite a bit that goes into painting interior doors, from proper preparation to using good brush stroke technique, but by following these rules used by professionals of the trade you’ll be well on your way to having expertly painted interior doors every single time.
What Type Of Paint Was Previously Used?
The rules for painting interior doors are more fundamental than situational. One of the very first things you should do before choosing the type of paint for your door is to determine what type of paint was previously used on your door to know whether you need to prime it first. The rule to remember is this: latex-based paints do not need to be primed, however oil-based paints do.
If you’re unsure, try the alcohol test. Pour some rubbing alcohol onto a rag and brush it against the surface of your door. If paint comes off onto the rag, you’re dealing with latex-based paint. And if nothing comes off, it’s oil-based paint, and therefore will need to be primed before you start painting.
Another reason to determine what type of paint was previously used is to see if there’s any lead in the paint. Lead-based paints were commonly used before 1979, and if you’re dealing with an old door, there’s a good chance you’re dealing with a lead-based paint which is toxic and can be absorbed into the skin, potentially leading to brain and organ damage. It’s a good idea to consult with a professional to make sure your paint job not only comes out perfect, but is safe for your health too.

Paint On Or Paint Off?
One of the next rules for painting interior doors is to determine whether you’ll be painting your door while still attached to the frame or removed from the frame and placed horizontally. There are pros and cons for both, and knowing the differences may help you determine which approach works best for you.
Painting Your Door While Still Attached To The Frame
Pros:
- Leaving your door attached to the frame while painting can save you the time it takes to detach it and set it up properly on a horizontal working surface.
- Doors are cumbersome and take up a lot of space when laid down horizontally. In situations where there is limited space to paint, leaving a door attached to the frame will help to alleviate the spacial burden.
- If you’re dealing with a simple wood door with no dents and cracks to fill, painting it while still attached is totally fine.
Cons:
- If your door is paneled, painting in long, smooth strokes can be awkward and tricky if not done while the door is laid horizontally.
- Gravity can become an issue if you’re not careful. If you apply too much paint, it will run down your door and leave unsightly streaks and globs.
- While your paint is drying, a family member or roommate might not notice that your door is still wet and make a real mess of themselves.
Painting Your Door While It’s Removed From Its Frame
Pros:
- Gravity won’t be as much of an issue with your door laid horizontally.
- It’s easier to paint with long, smooth brush strokes.
- Painting paneled doors is a lot easier when painted horizontally.
- Removing a door will allow you to set it up in a well ventilated space so that you and your family aren’t breathing in the smell of paint all day while waiting for it to dry. Speaking of ventilation, using painting pyramids to elevate your door two inches will allow air to flow beneath the door, helping it dry quicker.
- It’ll be easier to fill gaps and dents with wood filler, as well as sanding after.
Cons:
- This approach can be time consuming and may require extra people to help maneuver the door into a good working position.
- If your work space is limited, this approach might be more difficult when trying to move around the door as you paint.
For best results, most professionals recommend painting a door while it’s removed from the frame.

Purchase Quality Tools & Materials
One of the most important rules for painting interior doors, or any painting project for that matter, is to purchase quality tools and materials. No matter what type of paint you’re using for your interior doors, the better the tools and materials, the better the finished product. However, buying the best tools and materials can get pretty expensive. That’s why it’s recommended you go with a professional. Professional painting contractors will have all the quality tools and materials needed to not only see your painting project through to a satisfactory finish, but also be cost efficient as well.
Detaching Your Door Correctly
When detaching your door, it’s important to detach it correctly to prevent any installation issues when you’re ready to put it back into the frame. Using a hammer and a nail, tap the hinge pins loose. The door should slide right off the hinges. Be sure to store the hinge pins in a safe place so that you’ll be able to find them easily and all in one place when you’re ready to reinstall your door.
Remove Door Knobs
You won’t find it mandatory in the rules for painting interior doors to remove the door knob before painting, but there’s nothing that says sloppy like some dried paint on your door knob. That’s why it’s recommended by pros that you remove your door knobs before painting. Using a long and skinny screwdriver, locate the two screws to either side of the door knob and remove them. Doing this should release both door knobs, leaving the locking mechanism, which can be removed by removing the screws located on the edge of the door. Be sure to keep all your parts and pieces together and in a safe place so that they’ll be easy to find when you’re ready to reinstall.
Fill Holes & Cracks
It’s important to look over your door carefully for any holes or cracks. Filling these holes and cracks with a top-rated wood filler or spackle can prolong the life of your door by preventing the imperfections from getting bigger, thus potentially jeopardizing the structural integrity of your door, especially if it’s an old one. Be sure to use a putty knife when applying your wood filler or spackle, scraping it into the holes and cracks and allowing it to dry for two hours before sanding smooth.
Sand & Prime
Once you’ve got all the imperfections filled and sanded smooth, it’s time for sanding and priming. Using 120-grit sandpaper or a power sander, sand the entire door surface smooth. Then, take a cloth dampened with mineral spirits and wipe the entire surface down, drying afterwards with another soft cloth to remove any dust.
Now you’re ready for primer. Remember, if you’re painting over oil-based paint you need to prime your door first before switching to latex. If you’re painting over latex-based paint, there’s no need to prime. If you do end up priming, after it dries you should sand the entire surface one more time using 220-grit sandpaper.
Paint The Entire Door In One Go
Now that your door is ready for paint, a good rule of thumb to go by is to always paint your door in one go. If you pause during a coat, the paint will dry unevenly resulting in a patchy finish. Latex-based paints take about four hours to dry between coats, whereas oil-based paints take an entire 24 hours to completely dry between coats. Once the first coat is dry, experts recommended sanding the entire surface with 320-grit sanding paper and wiping clean and dry with a mineral spirit dampened cloth before moving on to the second coat.
Painting Paneled Doors Properly
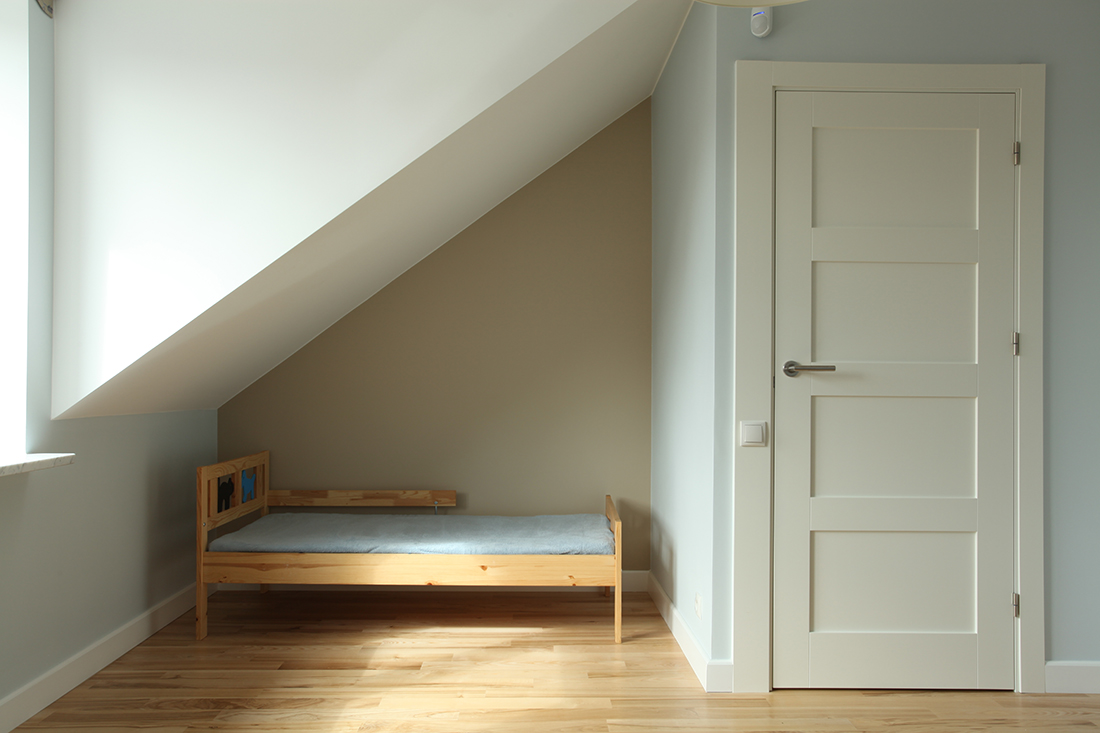
When it comes to rules for painting interior doors, paneled doors have a specific order in which they should be approached.
- First, paint the top, bottom, and side edges.
- Next, paint the panels. Typically, paneled doors have two smaller squares up top, followed by longer rectangular squares located in the middle and lower half of the door.
- Paint the vertical strips between the panels next.
- After that, paint the horizontal strips at the top and the bottom of the door.
- Lastly, paint the vertical strips on the sides of the door.
Following these steps is a fool-proof way of ensuring your paneled door is painted perfectly every time.
Shorten The Drying Time
Drying time is a big part of the painting process. So why not speed it up using some tricks of the trade? Experts will tell you that painting thin layers will help to speed up drying time. While at it, you should also increase the airflow and ventilation by turning on the ceiling fans and floor fans.
