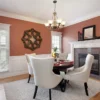

So you’ve just discovered the most amazing, one-of-a-kind vintage dresser after cleaning out the attic at your folk’s place, and all it needs is some new paint to refresh, rejuvenate, and give it new life. Only problem is it’s coated in polyurethane. Yikes. Now, you’ll have to go through the painstaking process of removing the coating, right? Not necessarily. Why not paint over the polyurethane instead? It’s easier and cheaper, and our professional painters can help you get your vintage dresser looking like you’ve just plucked it from back in time.
What Is Polyurethane?
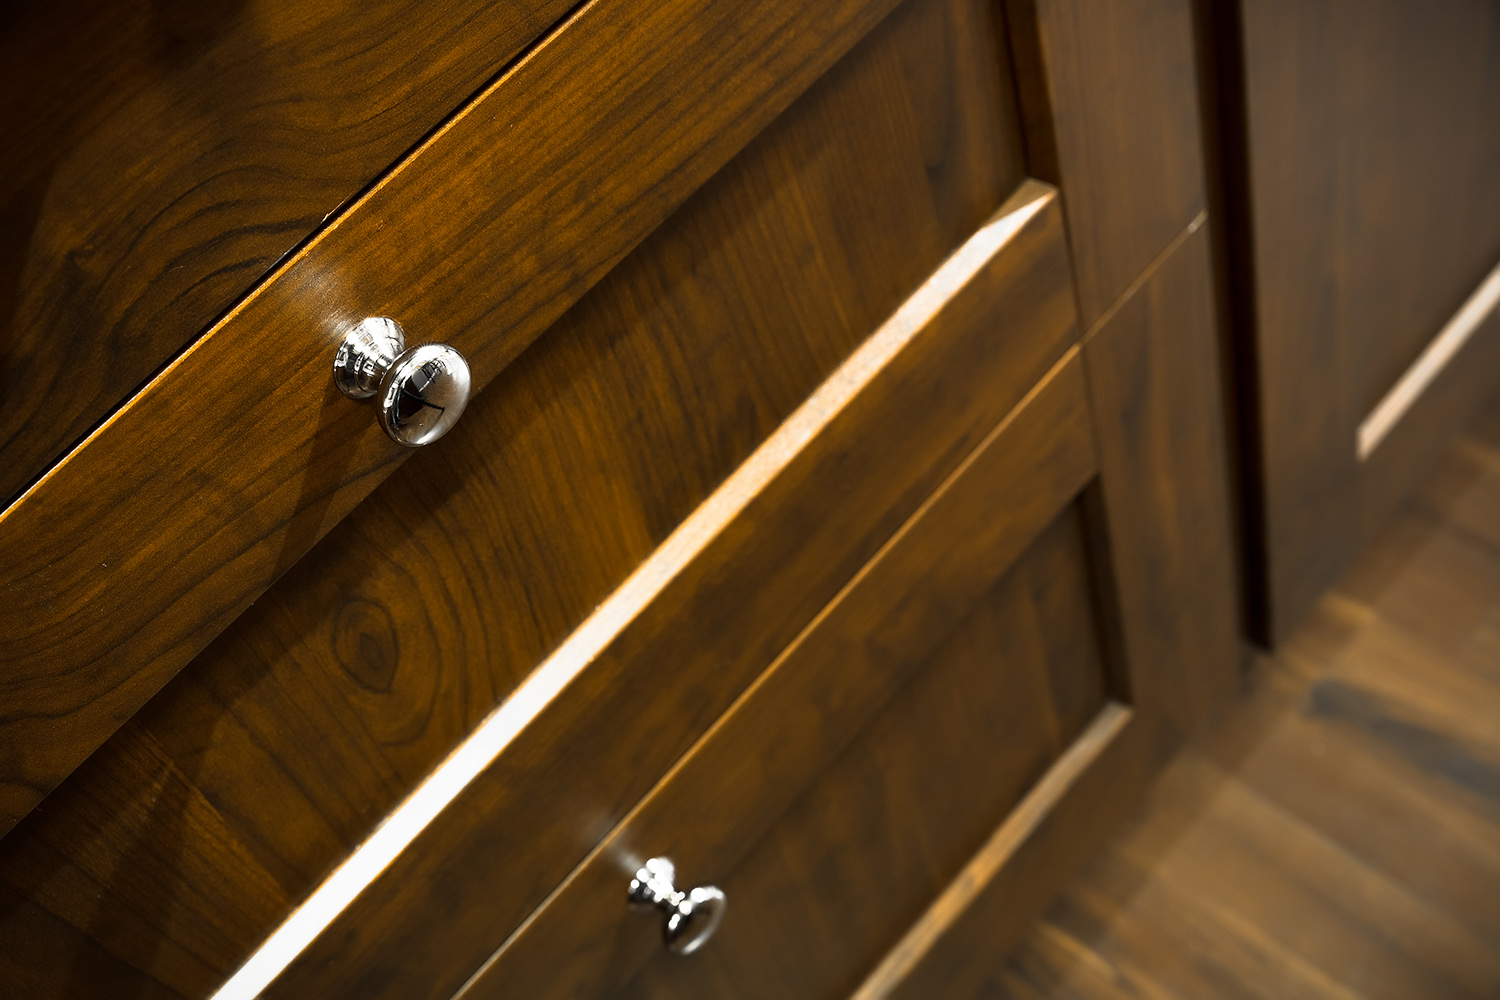
Essentially, polyurethane is a type of liquid plastic used as a topcoat commonly applied to furniture and wooden floors.
When applied to wood or another material, it dries into a clear, shiny, and durable clear coat that protects the surface from damage from scratches, scuffs, water and other damages. Polyurethane is available in oil-based and water based variants, with varying levels of luster.
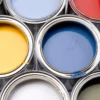
What Types Of Paint Can You Use Over Polyurethane
- Oil-based paint – sanding the surface first is recommended
- Water-based paint – preparing, sanding, and priming the surface first is recommended
- Latex-based paint – preparing, sanding, and priming the surface first is recommended
- Chalk paint – sanding the surface first is recommended
-
Tools Needed
- Wood filler
- Paintbrushes
- Lint-free clean cloths
- Safety goggles
- Rubber gloves
- Face mask or respirator mask
- Various grades of sandpaper
- Sanding machine (if necessary)
- Mineral spirits, wood cleaner, or Trisodium Phosphate (TSP)
- Oil-based primer
- Oil-based paint or acrylic urethane paint
Preparing The Wood Surface
To paint over polyurethane: first, you’ll need to make sure your polyurethane wood surface is free of mildew, mold, grime, grease, and dust. You’ll need some mineral spirits, wood cleaner, or Trisodium Phosphate (TSP), a strong cleaning solution, for this, however these chemicals are quite toxic and not very environmentally friendly. Safety goggles, rubber gloves, and protective clothing is a must. Also, make sure that your work area is properly ventilated so you’re not inhaling those nasty fumes. Our professionals have been properly trained to be as safe and efficient as possible when working with harmful chemicals.
If you’re using mineral spirits, make sure your wood surface dries completely after you’re done cleaning, and if you’re using TSP, be sure to read the label on how to properly dilute (usually ¼ cup per gallon of water).
Next, a sponge with an abrasive side should be used. The sponge is dipped in cleaner, the excess wrung out, and applied to the wood surface using circular motions. Do this until all the dirt and grime are gone.
Once you’ve got your polyurethane wood surface free of the nasties, allow about 15 minutes for the surface to dry, then take a dry lint-free cloth and wipe clean. If you noticed any cracks, holes, or chips, now’s a good time for wood filler to fill those surface imperfections. It’s best to be applied evenly and allowed to dry before sanding.

Sanding The Wood Surface
Sanding is one of those things people either love or hate, but whatever the case, many experts will agree it’s an extremely important step if you’re painting over polyurethane and you want your paint to stick properly.
For smooth surfaces, you’ll want to go coarse with 60- or 80-grit sandpaper. You can use finer grit sandpaper like 120- to 220-grit to remove the yellow stain of the polyurethane. For difficult, curved pieces you can use a contour sanding grip, and for holes or concave curves, use a drum sander attachment or a Dremel, which can be attached to your drilling machine. We know what you’re thinking. Why buy a tool you’re only going to use once? Not to worry – our professionals have all the tools needed to do the best job possible!
Once sanding is done, a vacuum cleaner is used to suck up all the dust, and then a clean cloth dipped in mineral spirits to polish off to a clean finish.
Applying Primer
Choosing The Right Primer
When painting over polyurethane it’s important to know just how essential choosing the right primer really is, and that primer is an oil-based primer, NOT a latex one. Even though oil primer smells bad and can be messy to work with, it’s the best option for painting over polyurethane because it soaks into wood to form a seal without raising the grain like a latex primer would. Also, without applying an oil-based primer you risk (1) the paint not having a surface to grip to properly which could cause it to peel, and (2) the tannins in the resins of the polyurethane could bleed through, leaving a yellowish or orangey appearance. This is called tannin bleed, and it’s the enemy when painting wood.
Use A High Quality Brush To Apply A Thinned Out Oil Primer
You might be thinking that it shouldn’t matter how the primer goes on because the paint is going to cover it, however the quality of your primer coat is equally as important as your paint coat. The paint coat could be flawless, but if the primer underneath is full of horrible brush strokes, it’ll be noticeable and an eye sore. That’s because oil primer is thicker and more challenging to work with than a water-based primer.
High quality paint brushes meant for oil-based coatings are recommended. It’s also recommended that you use mineral spirits to thin out the thickness and stickiness of your oil primer so that it brushes on more smoothly.
Most people make the mistake of over-applying. The reason why you shouldn’t over-apply is because it’ll take longer to cure, and if you were to accidentally paint over the primer the paint would remain soft and sticky to the touch for an extended period of time. Our professionals know that thin coats, working in sections and in one direction, and giving the primer enough time to dry is the way to go. It’ll need two coats before moving on to paint.
After the primer has been applied and is completely dried, the surface will need to be gently sanded with the goal of sanding out the brush strokes and getting the surface nice and even.
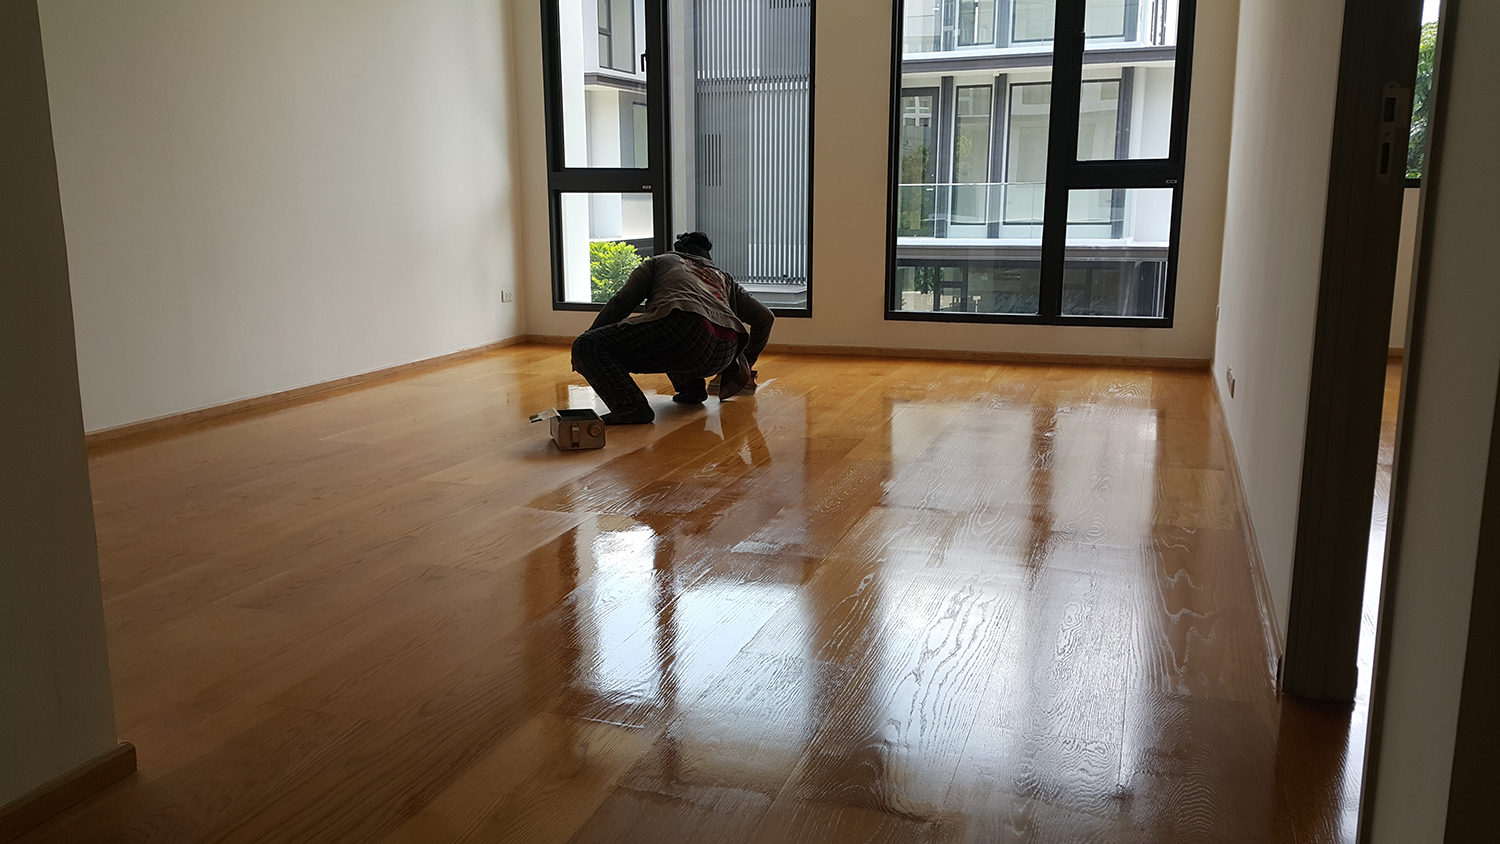
Applying Paint
If everything was done correctly, your polyurethane surface should be ready for paint without any issues. Water-based paint works just fine if your surface is primed correctly, however it’s recommended you use oil-based paint for a more superior, long lasting finish. Paint rollers are fine for larger areas, brushes for finer details, and if you really want to make your job easier a paint sprayer will ensure a more precise and even coating. It’s recommended you wait for at least an hour for the first coat to dry before applying the second coat.