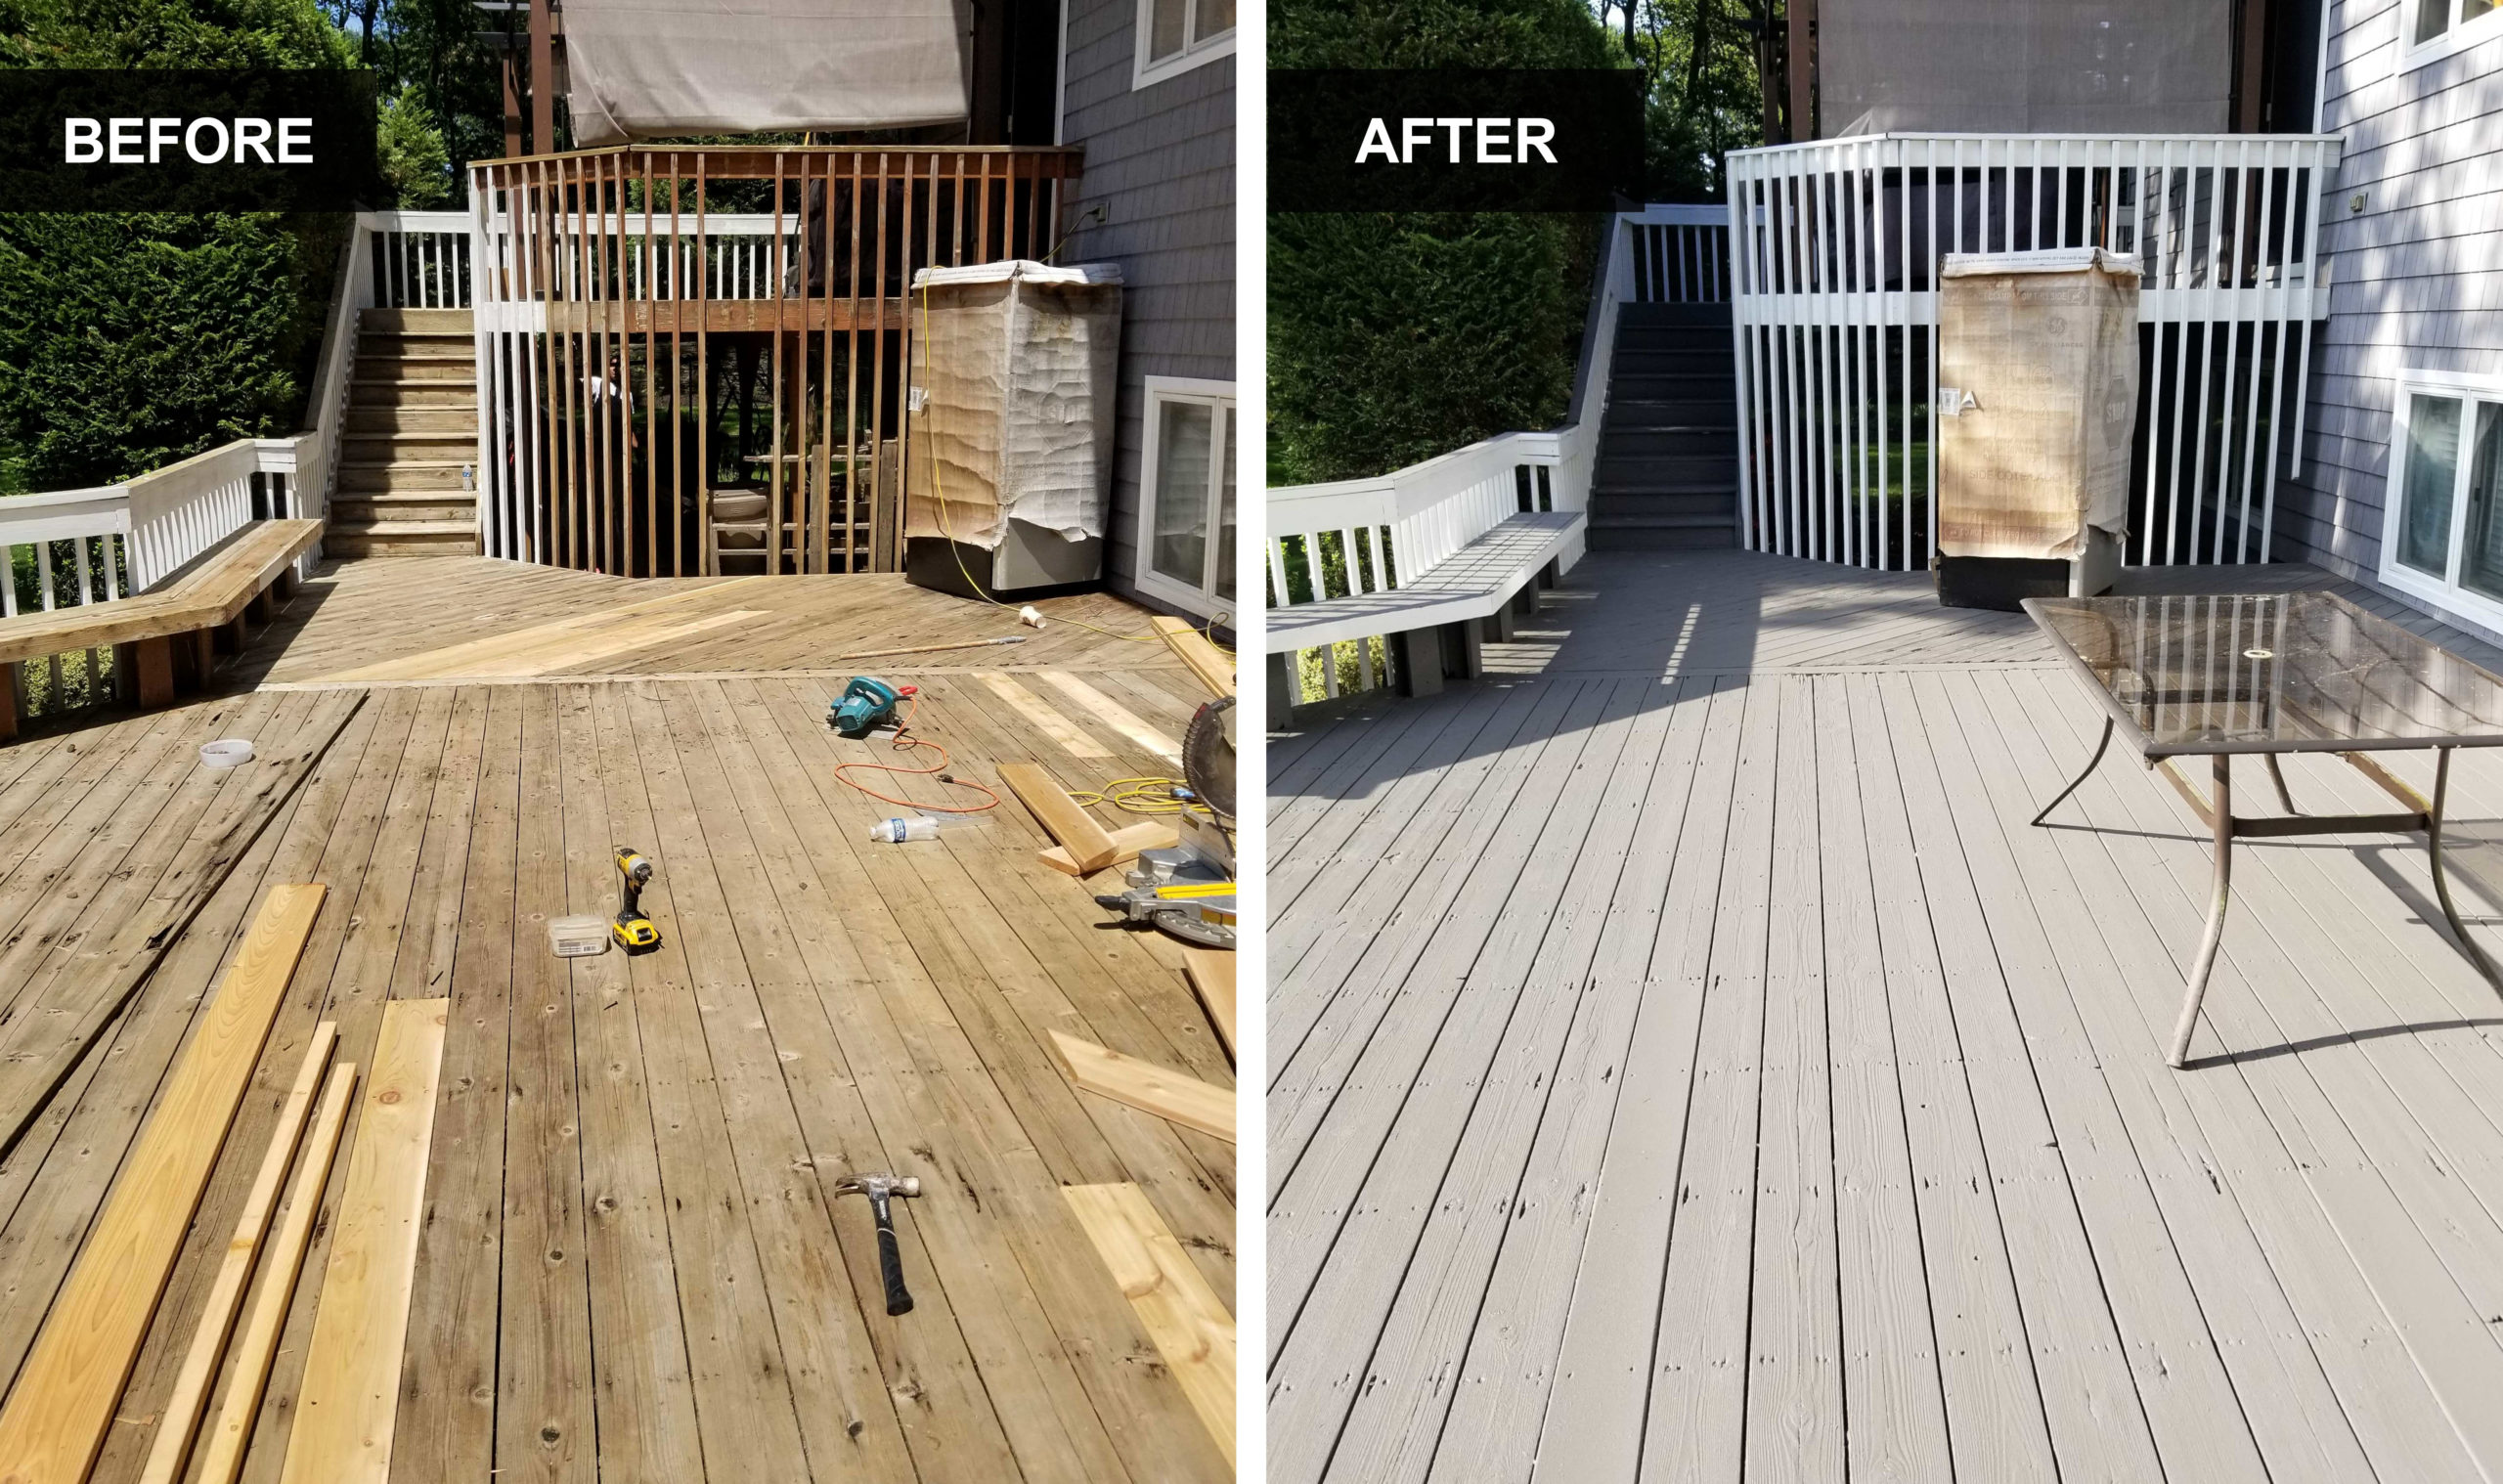
Yes, the short answer is absolutely you can paint pressure treated wood easily using high quality exterior primer and latex paint, but you should wait until it dries first, wash and scrub off all the excess treatment chemicals that seep out, then after it dries once more it’s ready for primer and paint! Don’t be intimidated! Our professionals can help you bring your dream outdoor projects to life, saving you time and money!
What Is Pressure Treated Wood?
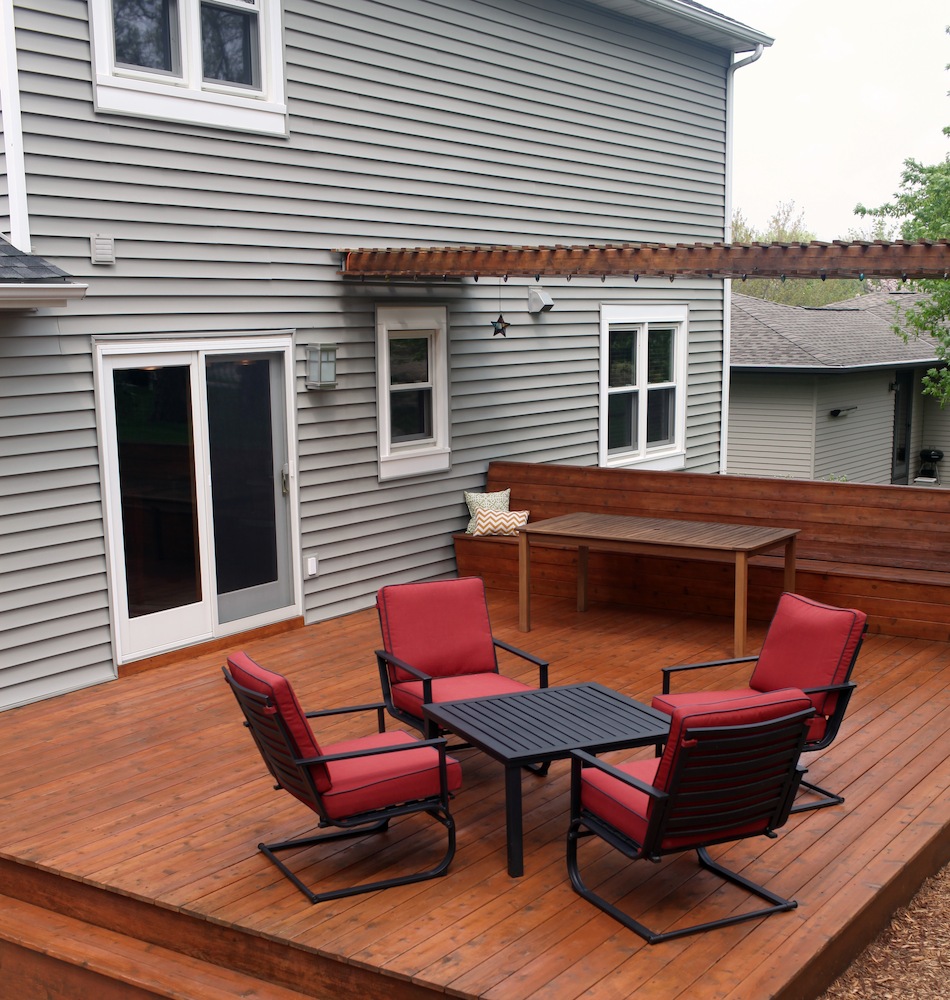
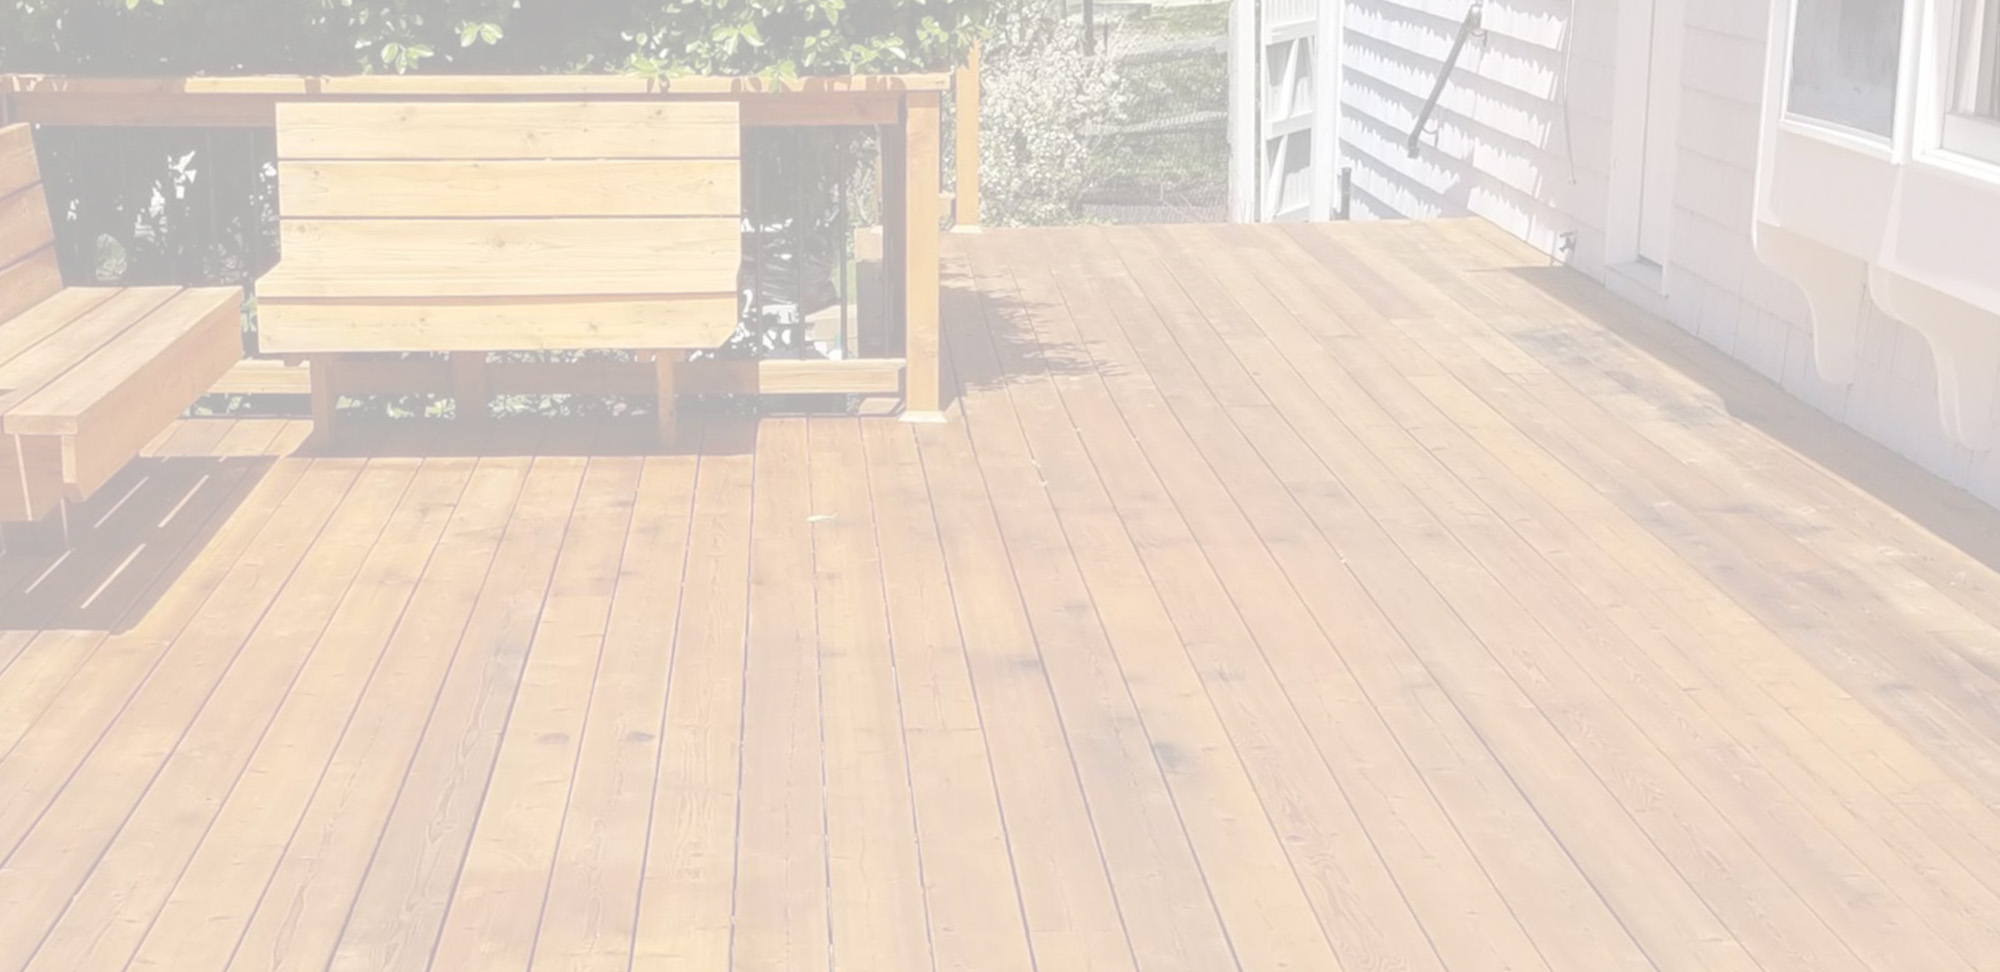
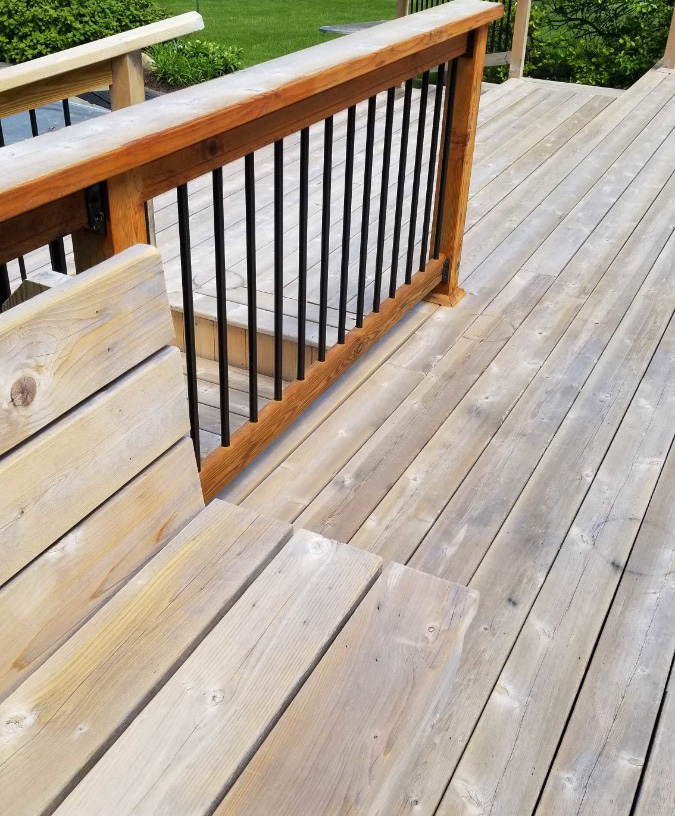
Pressure treating wood is a popular process that has been around for nearly 70 years, and involves taking softwood lumber, typically southern yellow pine, and chemically treating it to resist rot, decay, fungus, and termites. The result is an exterior-grade wood ideal for building decks, fences, sheds, and other outdoor projects.
What Are The Benefits of Treated Wood?
Now that you know there’s a right way to answer the question, “can you paint pressure treated wood,” let’s talk about why you should be painting pressure treated the right way to make sure your outdoor projects are pleasing to the eye and long lasting. Here is a brief list of the benefits of using pressure treated wood:
- Moisture, Fungal, Insect Resistance – Any natural wood left out in moist or wet environments will soften, allowing bacteria, fungus, and other microorganisms to slowly decompose the wood, however pressure treated wood uses one of several chemical compounds based on copper, which is a natural biocide!
- Cost and Durability – You might be thinking, “wait, but pressure treated lumber is more expensive than natural wood,” and you’re not wrong, however if basic math serves us well, one slightly more expensive purchase and professional installation is more cost efficient than purchasing over and over the cheaper alternative that will need to be replaced due to constant assault from the elements.
Now that you know the sweet benefits of using pressure treated wood over natural wood, why would you not want to take care to paint it properly? Using the proper method to apply paint to your pressure treated wood will add another layer of resistance so that you can rest with the peace of mind that your outdoor project will last.
Why Should You Wait Until Your Wood Is Dry Before You Paint?
When you first purchased the pressure treated wood, you probably noticed it was a little damp to the touch and a bit heavier than a piece of untreated lumber. It’s because treated wood is shipped while still “wet,” meaning it’s still saturated with liquid chemical preservatives. Hence, it feels moist to the touch as well as the greenish brown tint the treated wood takes on – it’s practically soaked with the stuff, and as part of the drying process, it’s all slowly coming out. If you were to slap on some primer and paint right away, your coat of paint would most likely be rejected by the water-borne chemicals seeping out. This is why it’s highly recommended the treated wood be allowed to dry completely before painting, which takes anywhere from two to four months, but trust us – you’ll be glad you took the time.
Since it’ll take some time to fully dry your pressure treated wood, it’s important to store your wood properly to make sure it doesn’t warp. Here are some things to consider:
Use Stickers
Stickers, or thin pieces of wood, are a great way to ensure your wood doesn’t become warped from storing to dry. Place the stickers under the bottom piece of wood and space them about every four feet under the length of the board. Then, repeat as you stack upward. Paint stirring sticks work well for this, or any type of stick for that matter as long as they are all the same thickness.
Weather Conditions
The best place to store your pressure treated wood is in a warm, dry place with low humidity. A storage shed is best, however if this isn’t an option, wait until warm, dry summer months and at least a month after the last rain.
Kiln Drying
If you don’t want to wait as long for the wood to dry before you paint, kiln-dried pressure treated lumber is a good alternative. Kiln-drying involves stacking lumber in a container and applying heat to help speed up the drying process. Kiln-dried pressure treated lumber, also called Kiln-Dried After Treatment, or KDAT, can be purchased at specialty lumber suppliers.
Assess Moisture Content
To check the moisture content of your pressure treated lumber to know when it’s ready to paint or not, there’s a simple test you can try: pour a small amount of water onto the surface of the wood and watch what happens. If your treated wood is not dry enough, the water will bead on the surface. If the wood is dry enough, the water will sink into the surface, signaling that the wood is ready for paint!
Make Sure Your Treated Wood Is Clean Before You Paint
Like with any painting project, you want your surface to be clean and dry before applying any primer and paint, and with pressure treated wood, it’s more than likely there is going to be some dirt and grime buildup over the two to four months it takes to fully dry. You’ll also want to wash off the chemicals that have seeped out onto the surface of the wood while drying before you paint. You might be wondering how to go about doing this, but not to worry – it’s a lot simpler than you think!
Washing
The best way to clean pressure treated wood is by washing. You’re going to need a garden hose with a jet nozzle, a stiff-bristled brush, and a bucket of water with a mild detergent (it’s recommended to stay away from pressure washers because the higher water pressure could gouge the wood, reducing the effectiveness of the pressure treatment). That’s everything needed, and the process is pretty simple:
- First, wet the area.
- Next, after you’ve thoroughly wetted the area, give the wood a good scrub using the brush and some soapy water.
- Lastly, spray with water to clean off – it’s that simple!
You might be thinking you’d like to skip this step to save on time, but it’s an essential step to making sure your results come out to perfection. The last thing you’d want is for someone to notice a spot or two where painted over dirt peeled off to reveal that greenish brown treated wood underneath.
Prime
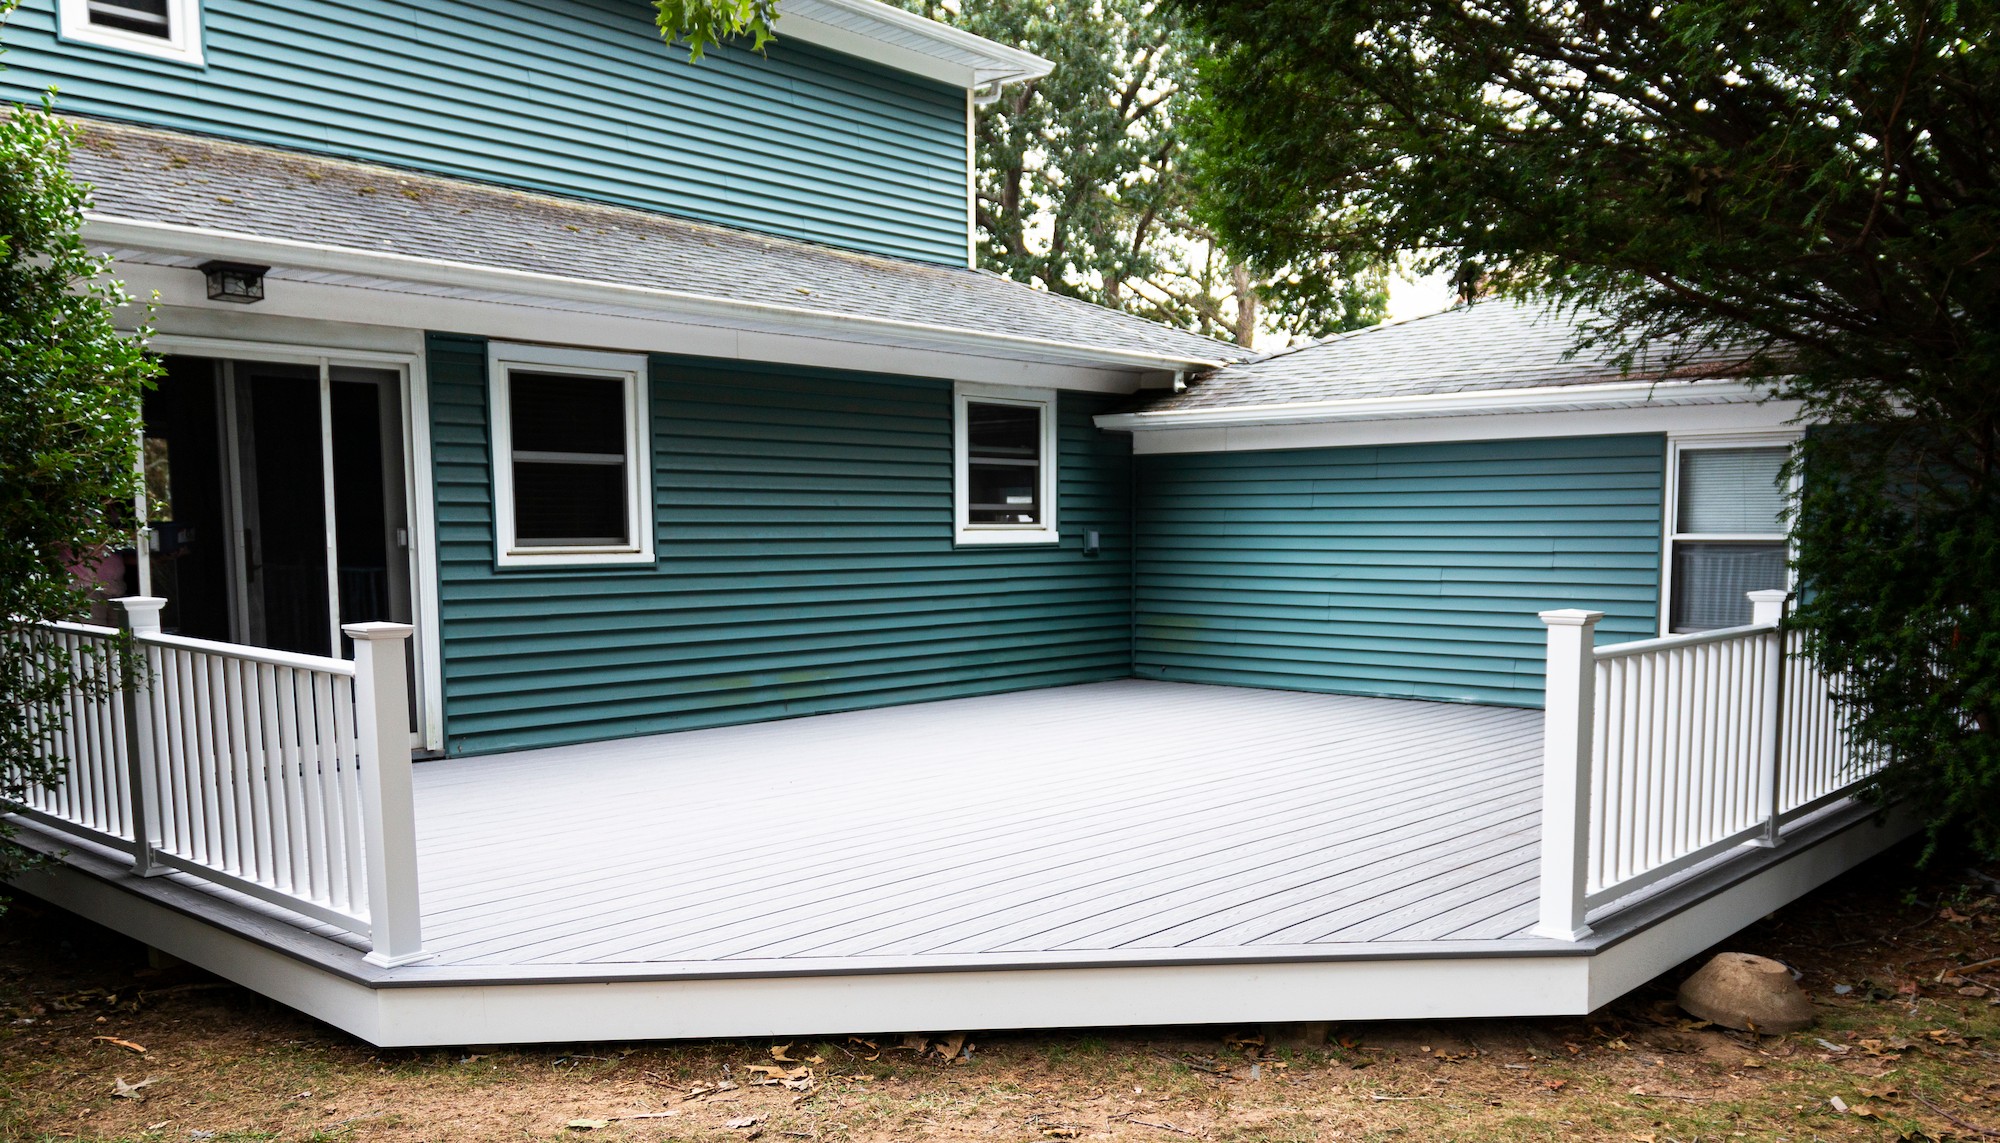
Now that your pressure treated wood is clean and thoroughly dried, it’s ready for primer and paint! Hooray! It’s always a good idea to prime your surface before you paint. If you’ve ever tried to paint a wall without first priming, you’d know that in many cases, the color goes on inconsistently and just looks plain sloppy. Same goes for painting treated lumber, which is why choosing a high quality primer is highly recommended to ensure your paint adheres to the wood surface smoothly and evenly without peeling.
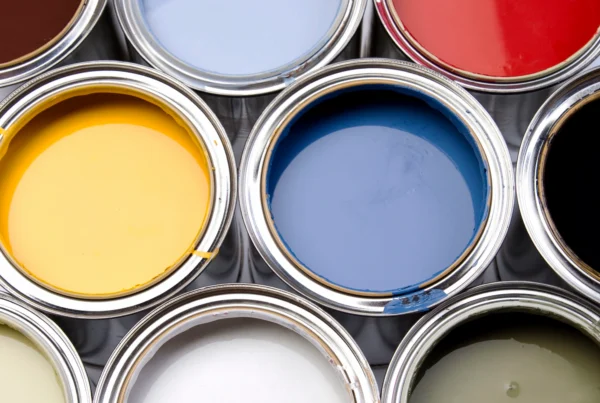
Choosing The Right Primer
Choosing the right primer for your treated lumber is simple, but above all else, make sure the label says “exterior.” Once you’ve got that covered, choose a white primer for lighter colors or a tinted one if you’re going darker.
How To Apply Your High Quality Primer
Apply your high quality exterior primer to all surfaces of the wood you wish to paint, and let it dry for at least a day before painting. Paint rollers work just fine, just make sure to use a paint sprayer or paintbrush to get into all those crevices, nooks, and crannies.
Paint
You’re all primed and ready to paint! But what paint should you use for your pressure-treated wood? That’s easy! The best paint to use for pressure-treated wood is high quality, exterior latex paint (avoid using oil-based paints). Exterior latex paint is a water-based paint which is perfect for your pressure-treated wood. When choosing a color, don’t be afraid to dream big! Our professionals will help ensure that you pick the right type of paint and the best color for your outdoor project.