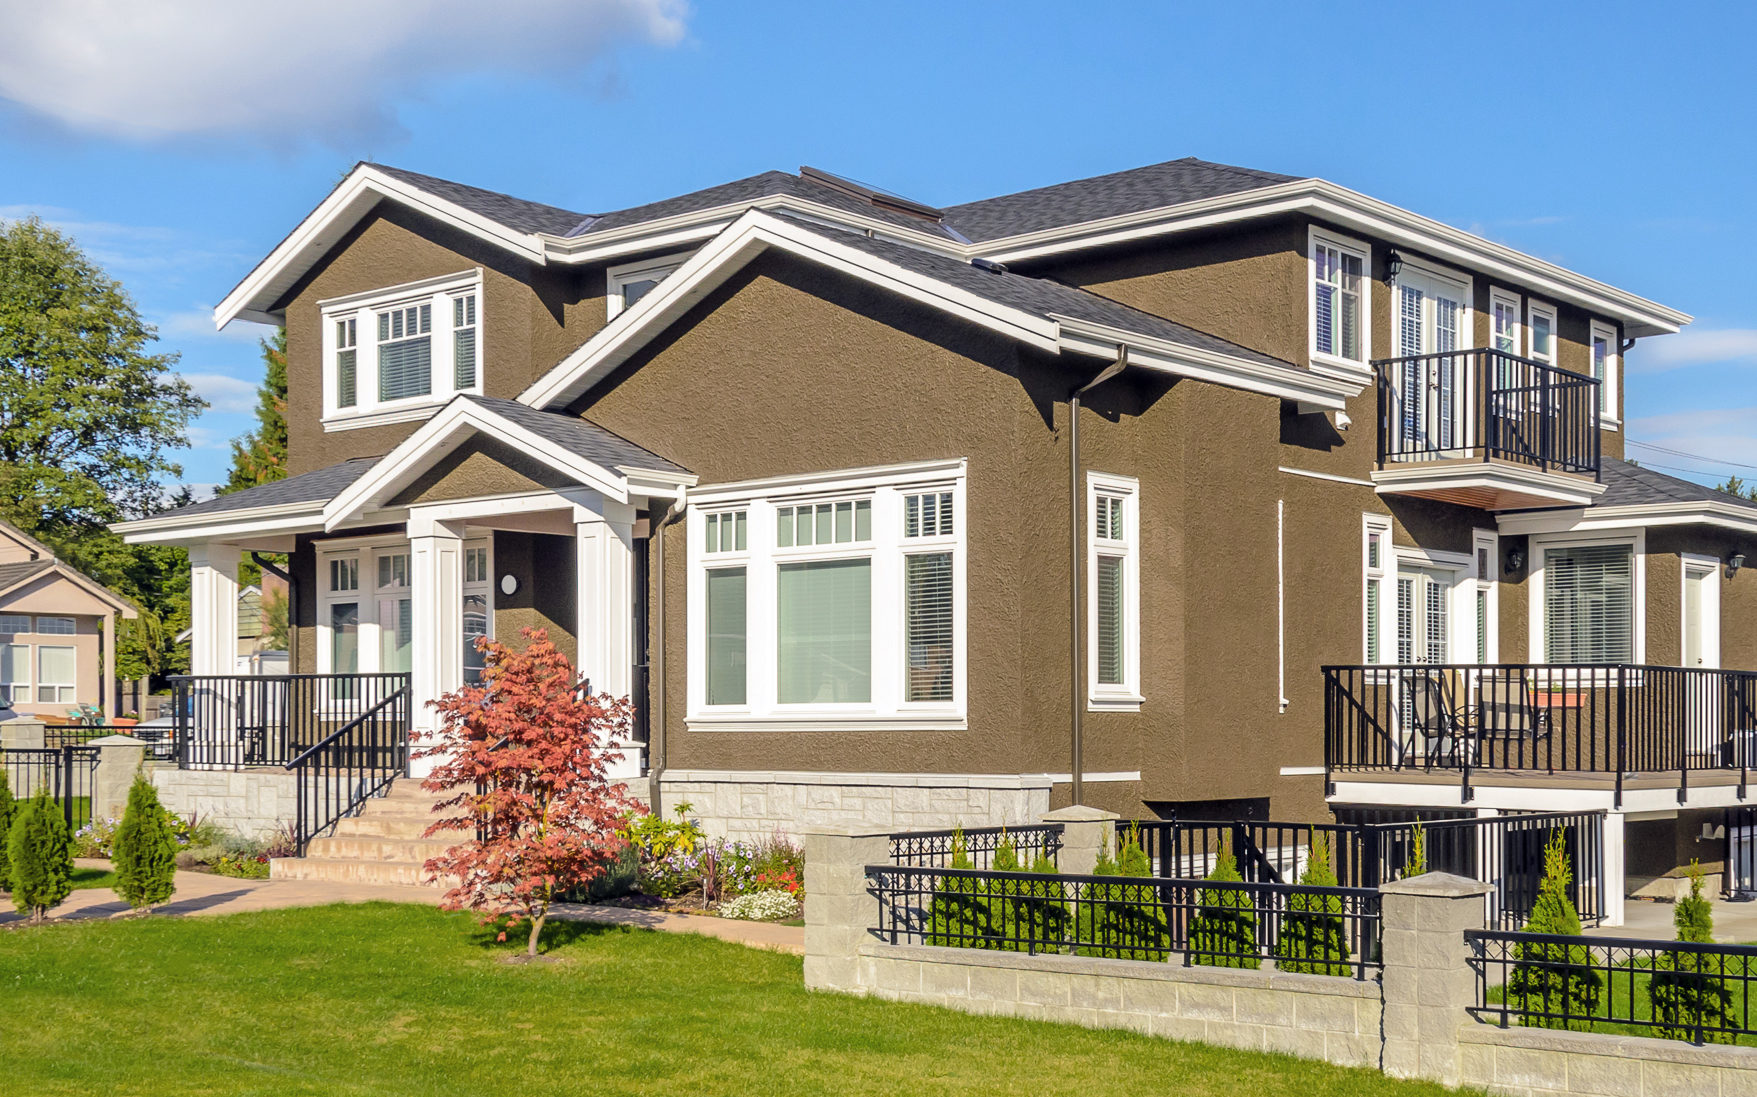
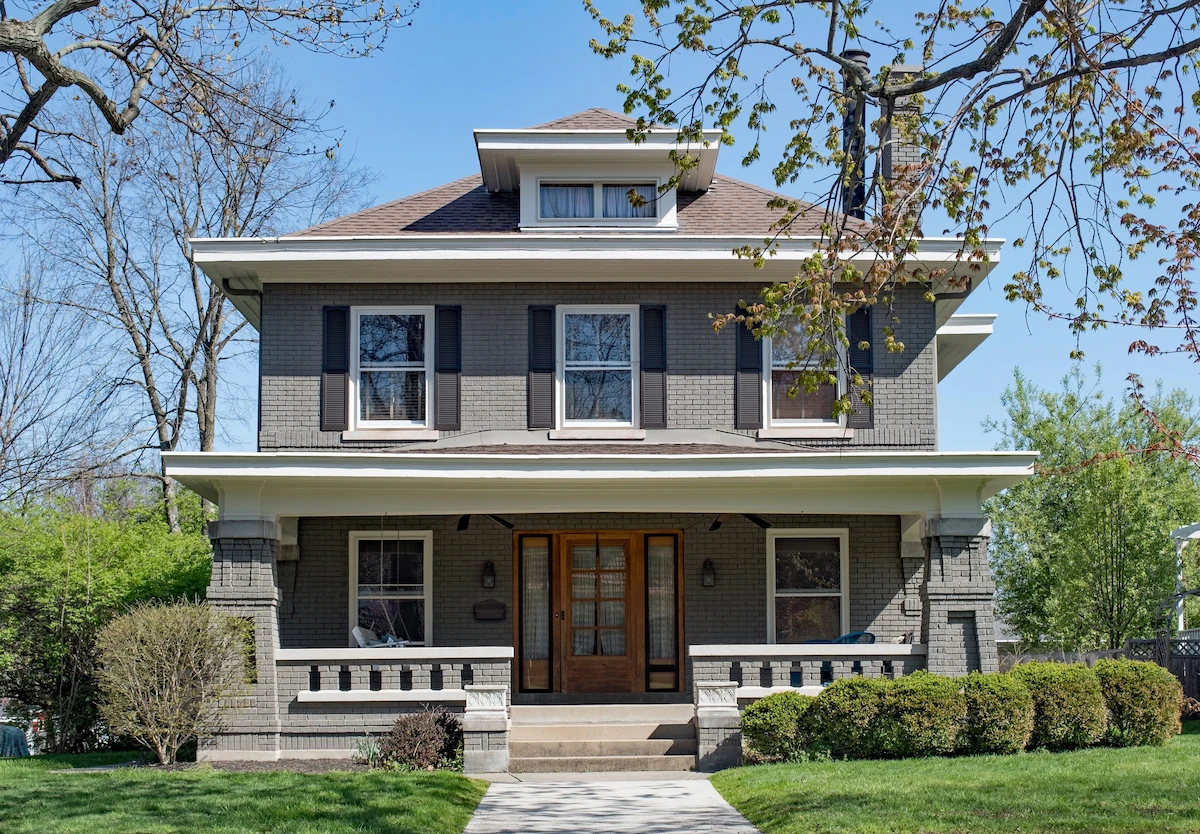
Prepping the exterior of your home before painting isn’t just an extra step—it’s the foundation of a stunning, long-lasting finish. A well-prepared surface ensures that your paint adheres beautifully and stands the test of time, whether giving your entire house a makeover or simply adding a splash of fresh color to your trim.
At Precision Painting Plus, we’ve mastered the art of surface preparation for residential and commercial painting projects. With the proper techniques and tools, you can achieve a professional-grade result that brings your creative vision to life.
In this guide, we’ll walk you through every step, from assessing the surface for repairs to applying a primer that ensures a flawless finish.
Step 1: Gather All Necessary Tools and Materials
Before you dive into prepping your home’s exterior, ensure you have all the tools and materials needed for a smooth and efficient process. Here’s a checklist of essentials:
- Basic Tools: Start with the basics, such as paint scrapers, wire brushes, sandpaper (various grits), and drop cloths. These are crucial for cleaning and smoothing surfaces.
- Specialized Equipment: Consider investing in or renting specialized tools, such as a pressure washer to thoroughly clean the exterior and a sturdy ladder or scaffolding to reach higher areas safely.
- Protective Gear: Prioritize safety by wearing protective eyewear, masks, and gloves. These protect against dust, debris, and harmful chemicals.
- Primers and Paints: Select a high-quality primer suitable for your home’s exterior material (wood, stucco, etc.). Also, pick paints formulated for exterior conditions, offering weather resistance and durability.
- Painter’s Tape: Use this to mask off windows, doors, and other fixtures to ensure crisp lines and protect them from stray paint splatters.
- Caulk and Fillers: For cracks and gaps, have a quality exterior caulk and wood filler on hand to create a seamless finish.
Step 2: Assess and Repair the Surface
Take the time to inspect your home’s exterior to identify areas that need attention:
- Inspect for Damage: Walk around your house and look for signs of rot, mold, mildew, and cracks. Pay special attention to the siding, trim, and other areas prone to moisture damage. Check for rotting spots on wood surfaces, while brick or stucco may have cracks or missing mortar.
- Remove Mildew and Mold: If you find mildew or mold, scrub it off with a mixture of water and bleach or a dedicated mildew cleaner. Rinse the surface thoroughly afterward. This step prevents future growth and ensures the new paint adheres properly.
- Repair Damaged Areas: Replace rotting wood and damaged siding with new material. For small cracks and holes, use an exterior-grade wood filler or patching compound to restore the surface. Ensure each repair is smooth and fully cured before proceeding to the next step.
- Caulk Gaps and Seams: Caulk gaps around windows, doors, and other seams to prevent moisture from seeping in. Ensure the caulk is cured before applying paint to achieve a waterproof seal and a neat finish.
- Final Inspection: After making repairs, conduct one final inspection to verify that every crack is filled, every damaged area is fixed, and no mold or mildew remains.
These thorough inspection and repair steps ensure your surface is fully prepped, making the painting much smoother.
Step 3: Cleaning the Surface Thoroughly
A clean surface ensures that paint adheres properly and results in a smooth, even finish. To thoroughly clean your home’s exterior, we recommend:
- Pressure Washing: Pressure washing removes dirt, dust, mildew, and loose paint that can prevent the new coat from bonding well. It’s especially effective on brick, stucco, and siding.
- Specialized Cleaning Solutions: For mold or mildew, use a solution of water and bleach or a specialized cleaner. For general grime, a mix of mild soap and water works well.
After cleaning, give the surface ample time to dry completely. Painting over a damp surface can lead to peeling or poor adhesion.
Step 4: Sanding and Scraping Old Paint
Proper preparation will help the new paint adhere effectively and extend the life of your work. Follow these steps:
- Identify Areas for Scraping. Carefully examine your home’s exterior for peeling or flaking paint. Check around windows, doors, and other exposed areas where moisture can cause peeling. Mark these areas with painter’s tape or chalk for easy identification.
- Start Scraping. Use a paint scraper or putty knife to remove loose paint. Apply steady pressure to lift peeling paint without damaging the surface underneath. Consider using a heat gun to soften the paint before scraping for large, stubborn patches.
- Sand the Surface. Once scraping is complete, sand the entire surface with medium-grit sandpaper. This smooths rough edges and creates a surface that new paint can grip. For wide areas, use an electric sander to speed up the process. Hand sand finer details around windows, doors, and trim.
- Cleanup. After sanding, use a brush or vacuum to remove all dust from the surface. Wipe it down with a damp cloth to ensure it’s completely clean before applying primer.
Step 5: Priming the Surface
Applying primer is essential for ensuring your paint job has a smooth, durable, and even finish. Primer creates a surface that paint can easily grip, especially on bare wood or masonry. It prevents stains, knots, and previous paint colors from bleeding through the new coat. Furthermore, primed surfaces hold up better against weather conditions and moisture, extending the life of your paint.
Here’s how to prime your exterior correctly:
- Preparation: Stir the primer thoroughly and pour it into a paint tray or bucket.
- Tools: Use a brush for edges and corners, a roller for flat surfaces, and a sprayer for faster coverage over large areas.
- Technique: Apply in smooth, even strokes, ensuring complete coverage. Work systematically from top to bottom to prevent streaks and drips.
- Drying and Curing: Follow the manufacturer’s instructions for allowing the primer to dry thoroughly. Drying times may vary depending on humidity, temperature, and the primer type.
- Final Inspections: After drying the primer, inspect the surface for any missed spots or uneven areas and touch up as needed.
Step 6: Protecting Windows, Doors, and Landscaping
Before you start painting, it’s crucial to protect the features of your home and the surrounding landscape to prevent unintended splatters and spills. Here’s how to keep everything safe:
- Painter’s Tape: Apply painter’s tape around window and door frames to create clean lines and shield them from paint.
- Plastic Sheeting: Cover windows and doors with plastic sheeting secured with tape. This lightweight barrier provides extra protection and is especially useful when using paint sprayers.
- Drop Cloths: Drape drop cloths over bushes, shrubs, and flower beds close to the house. Secure them with stones or stakes to prevent them from blowing away.
- Barriers: Consider putting temporary barriers for delicate plants or smaller beds to keep them safe from overspray and falling debris.
Safety Measures and Precautions
When prepping and painting the exterior of your home, prioritizing safety is crucial. Follow these measures to minimize risks and ensure a smooth, accident-free process:
- Always set your ladder on a stable, flat surface and ensure the legs are fully extended and locked.
- Ensure all parts of the scaffolding are correctly assembled and secured.
- Use guardrails and wear a harness if the scaffold is over 10 feet off the ground.
- Keep tools organized and avoid overloading to prevent items from falling.
- When sanding, use a respirator or dust mask to protect against airborne particles and fumes.
- Protect your eyes from debris, especially while scraping, sanding, or spraying paint.
- Wear gloves to safeguard your hands from splinters, chemicals, and abrasive materials.
- Avoid working near power lines or electrical outlets.
- If using power tools or pressure washers, ensure the cords are intact and suitable for outdoor use.
- Avoid overloading circuits with multiple power tools.
- Plan your work on days with calm, dry weather. Avoid high winds, rain, or extreme temperatures.
Final Inspection and Touch-Ups
After investing your time and effort into preparing the exterior of your home, it’s crucial to conduct a final inspection before picking up the paintbrush. A careful assessment and strategic touch-ups ensure your surface is ready for that first coat, helping you achieve a flawless finish. Here’s a checklist to guide you:
- Walk around your house to examine each surface you plan to paint. Look for any areas that might have been missed during the prep process. Check for any remaining cracks, holes, or rough spots that need caulking, filling, or sanding.
- Verify that the primer has been evenly applied and is fully dry. The primer should create a smooth base for the paint. Lightly sand any rough patches or brush marks that may have formed after priming.
- Inspect the caulking around windows, doors, and seams for cracks or gaps. If necessary, add another layer to prevent moisture penetration. Reapply caulk to any areas that may have shifted or where gaps have reopened.
- Fill small cracks and holes with a high-quality filler, and sand them down smoothly once dried. Apply extra primer to newly repaired areas to ensure uniform adhesion and color consistency.
This final inspection will ensure your surface is fully prepared, giving you the confidence to start your painting project on the right foot.
Wrapping Up
An exterior painting service includes a lot of necessary preparation that can seem overwhelming if you’re not familiar with the process. Properly preparing the exterior of your home before painting is an essential step that lays the foundation for a flawless and long-lasting finish.
If you’re feeling inspired but need expert assistance to achieve the perfect result, reach out to Precision Painting Plus. Our team of professionals is dedicated to helping you bring your vision to life with high-quality painting services. Whether it’s a complete home makeover or a small touch-up, we’ve got you covered. Contact us today to explore our full range of services, request a free quote, or get personalized advice for your exterior painting project.