One of the most daunting parts of a home painting project is preparing your rooms for painting. As you may already have guessed, there’s a bit of manual labor involved. Whether this is a DIY project or you have hired a team of professional painters, preparing a room for painting is necessary and should be done thoroughly. Follow this guide to ensure your painting project goes off without a hitch by properly preparing the room beforehand.
Prep The Walls
First and foremost, we need the painting surface to be accessible. Remove any wall hangings, mirrors, photographs, curtains and drapery hardware, or other fixtures touching the walls. Some not-so-often-thought-of items to remove include outlet covers, switch plates, towel bars, shower curtains, ceiling fan blades, and hanging lights. We suggest having some small plastic bags on hand to keep outlet covers and their accompanying screws together (it makes it much easier to put back up after!) The walls and ceiling should be as bare as possible before the project begins.
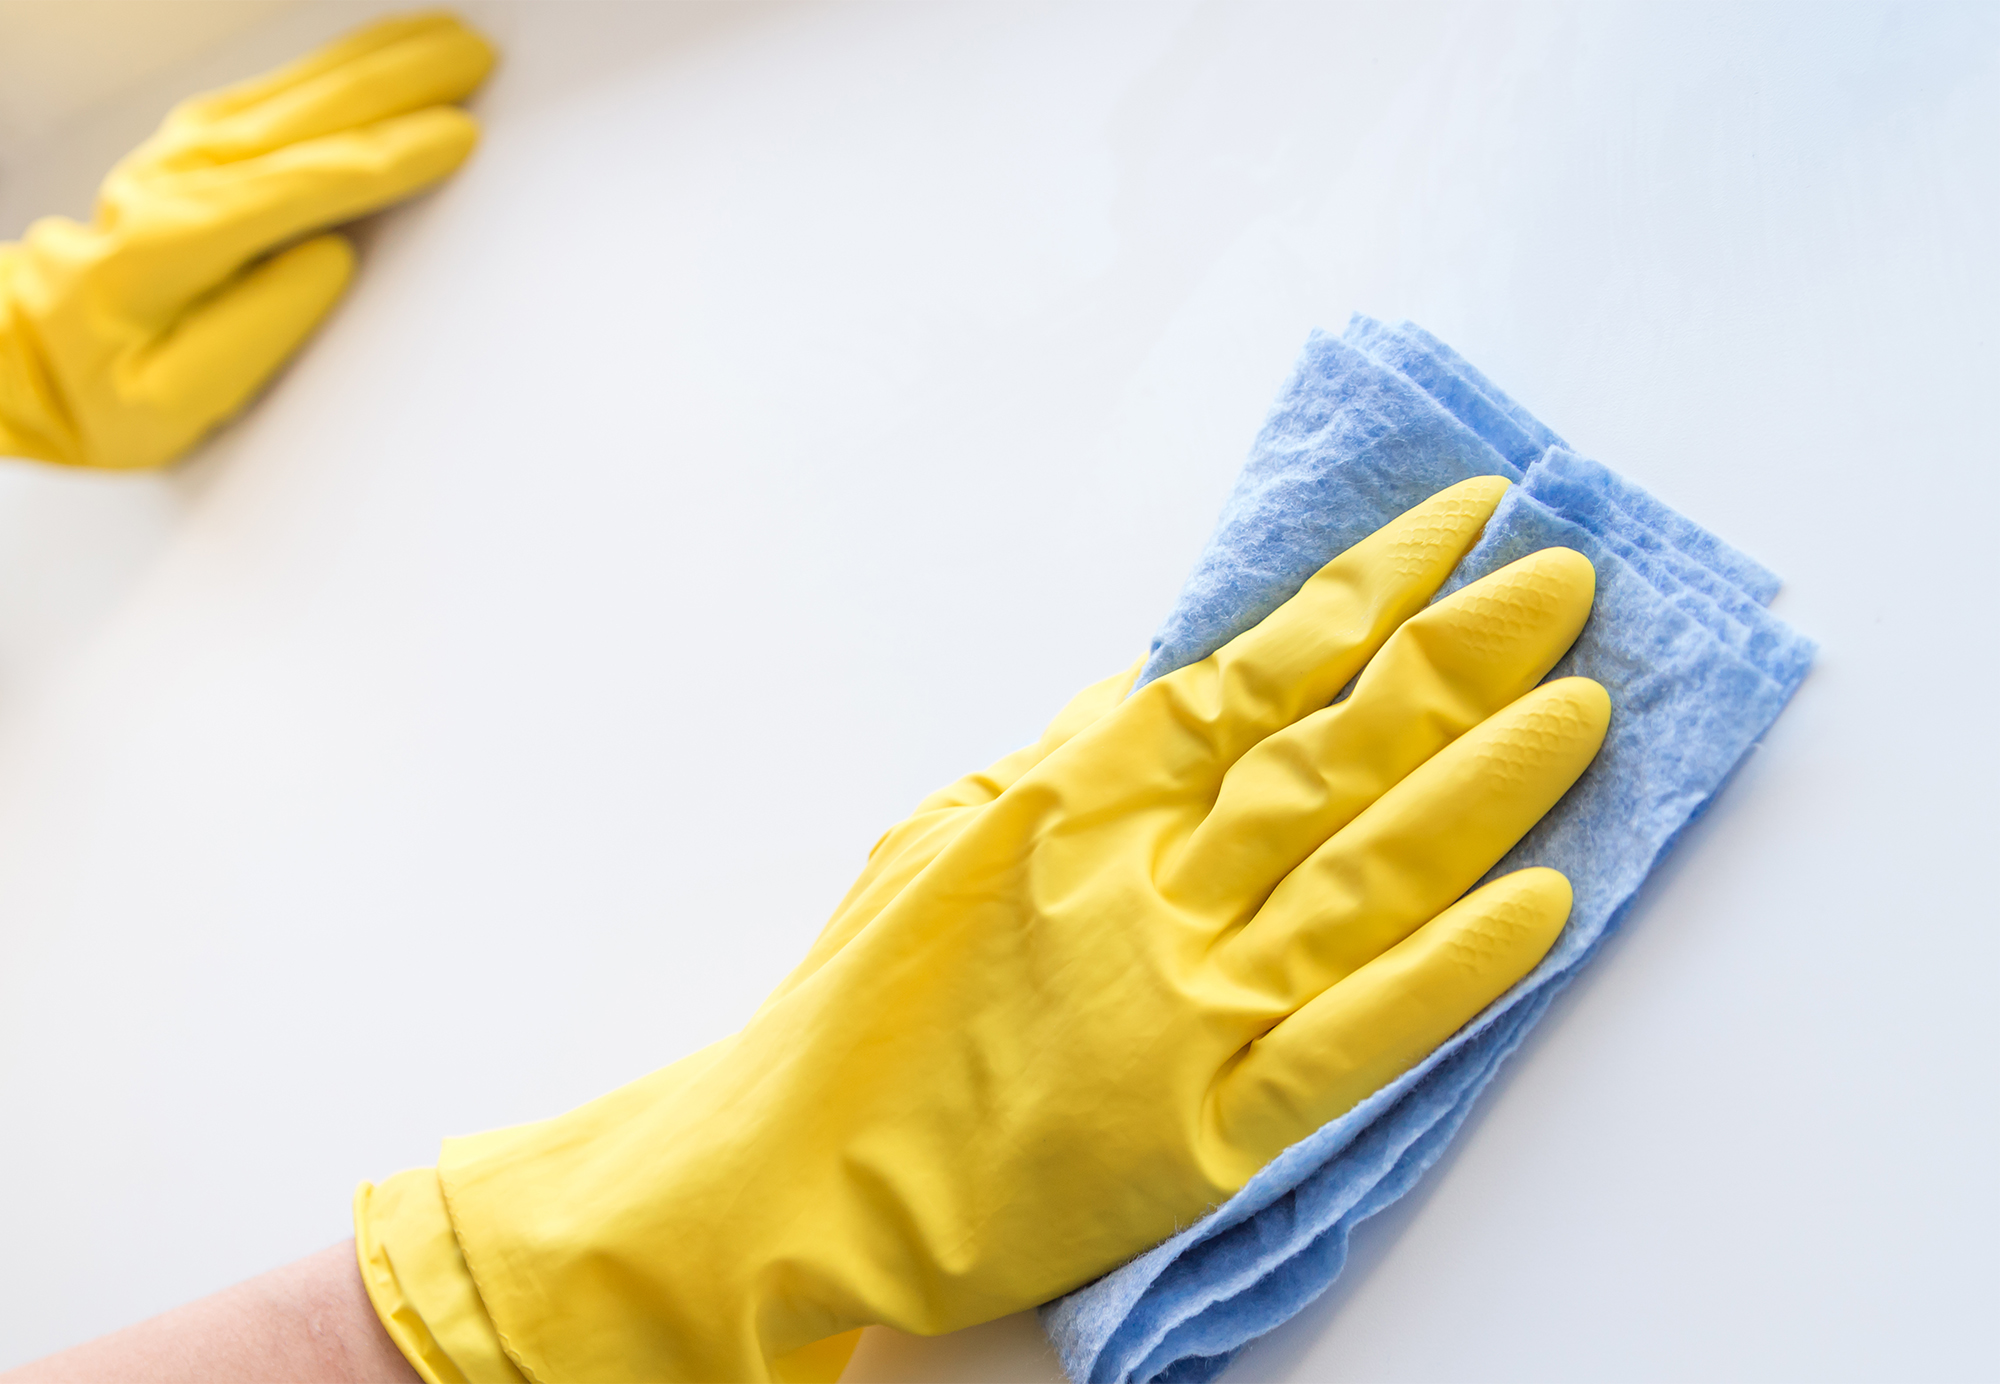
Next you’ll need to clean the surface being painted. Using a duster, remove dust or cobwebs from the room corners and ceiling. Depending on the room type, you may need to incorporate a more thorough means of cleaning. If you are painting your kitchen, there is most likely oil or other food particles on the walls as well. For tougher residues, use soap and water to clean. It’s imperative to remove dust, dirt, or other particles that could damage the integrity of the paint beforehand.
Clear The Room
Once the walls are bare and clean, the shuffling comes into play. If you don’t have the means to move items around, don’t worry! The Precision Painting Plus team can help move your possessions so they are protected while the room is painted.
Fragile Items First
Take a look around the room (or rooms) you’ll be painting. You should first identify any fragile items that absolutely need to be removed from the premises. This includes lamps, electronics, glass collectibles or cases, home decor, plants, toiletries, bedding or other similar items. Unplug any larger electronics that cannot be moved, such as mounted televisions or large entertainment systems.
Moving Furniture
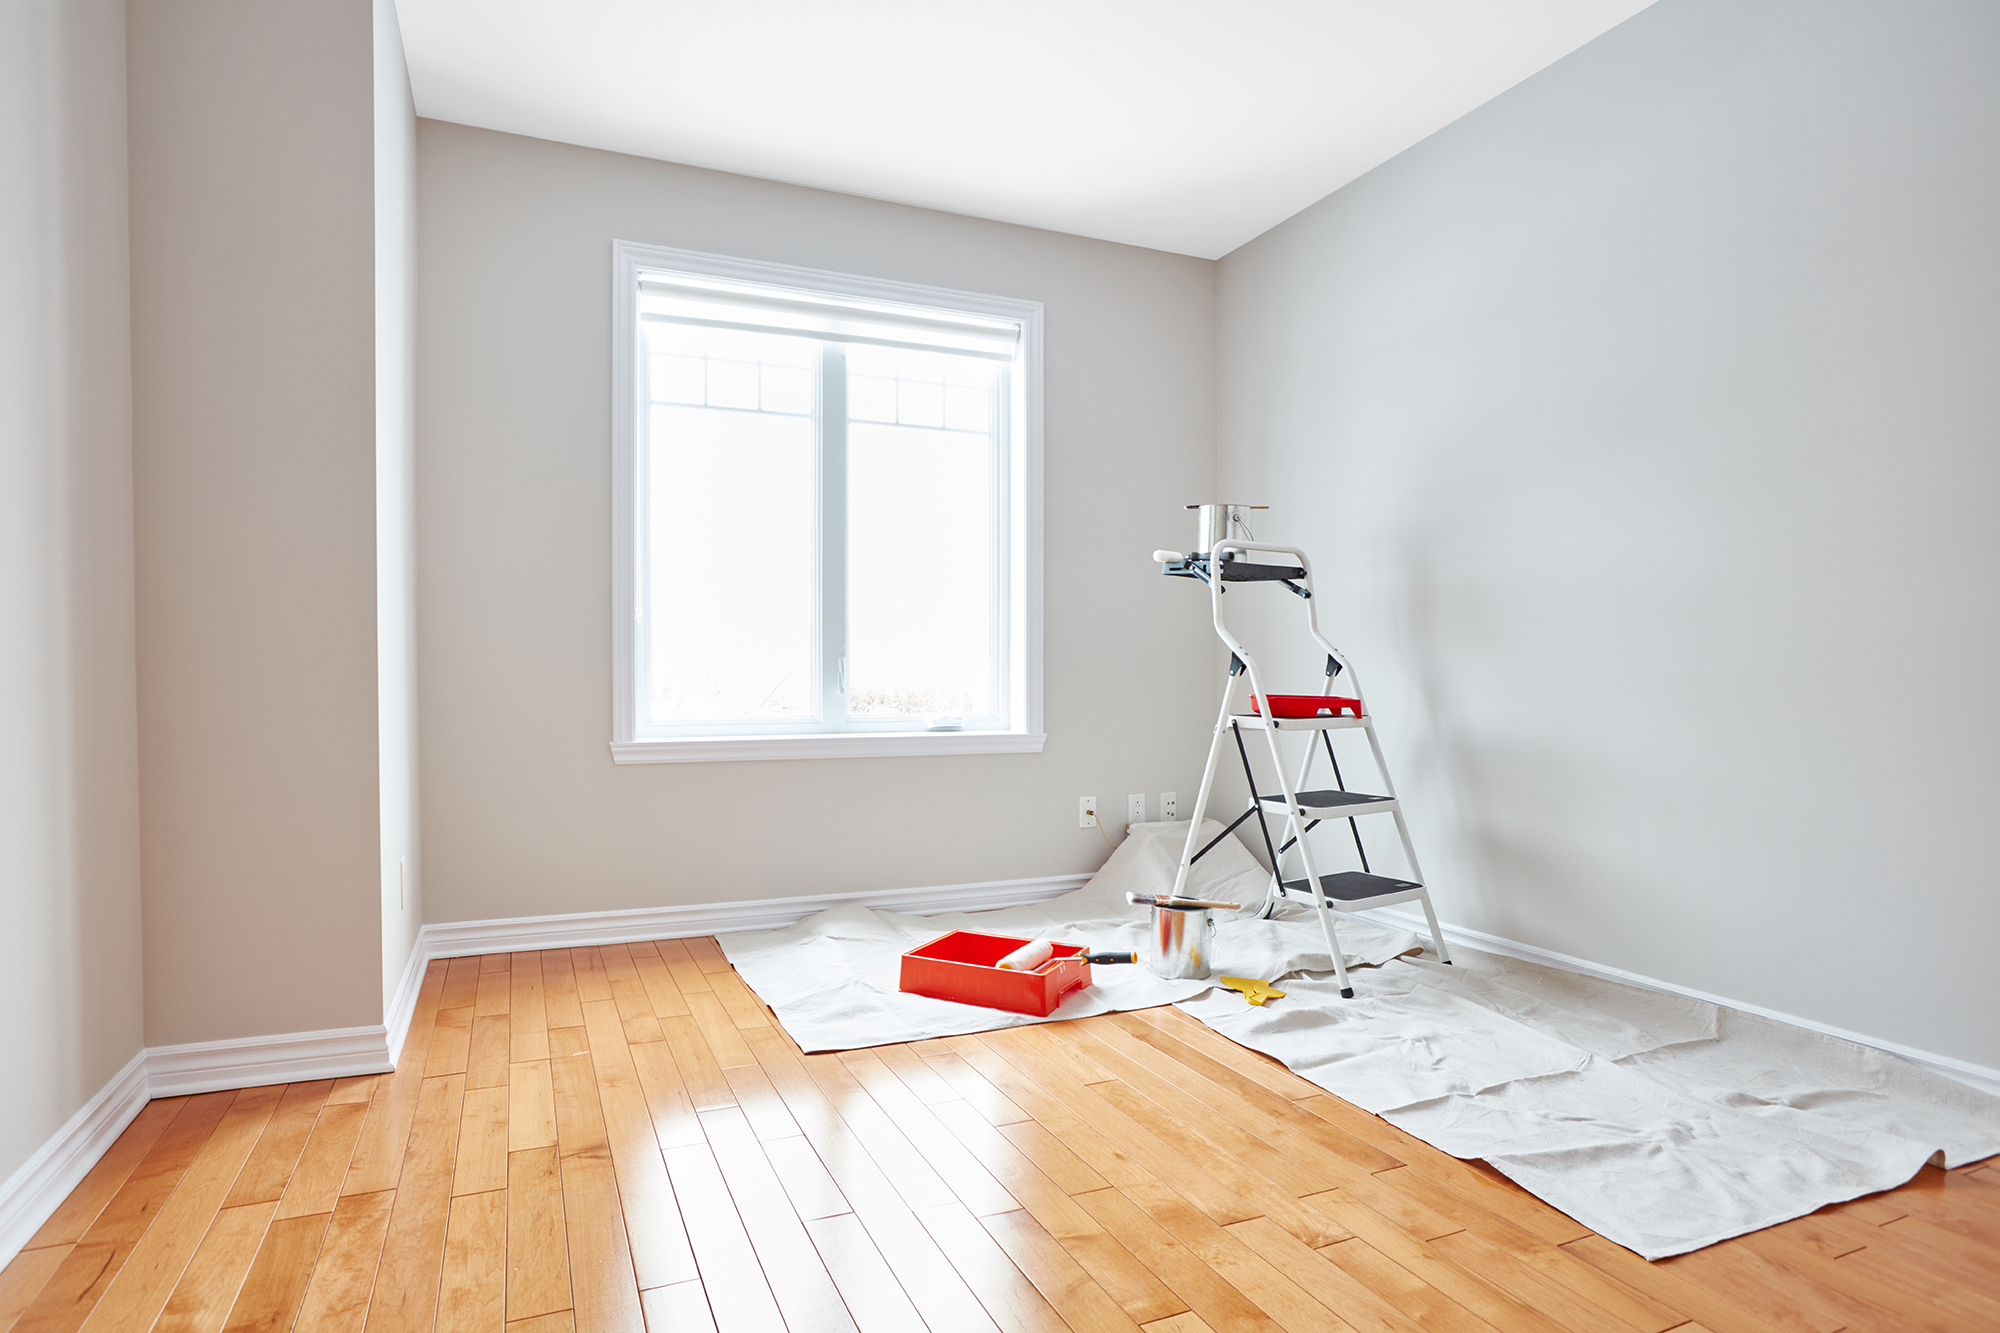
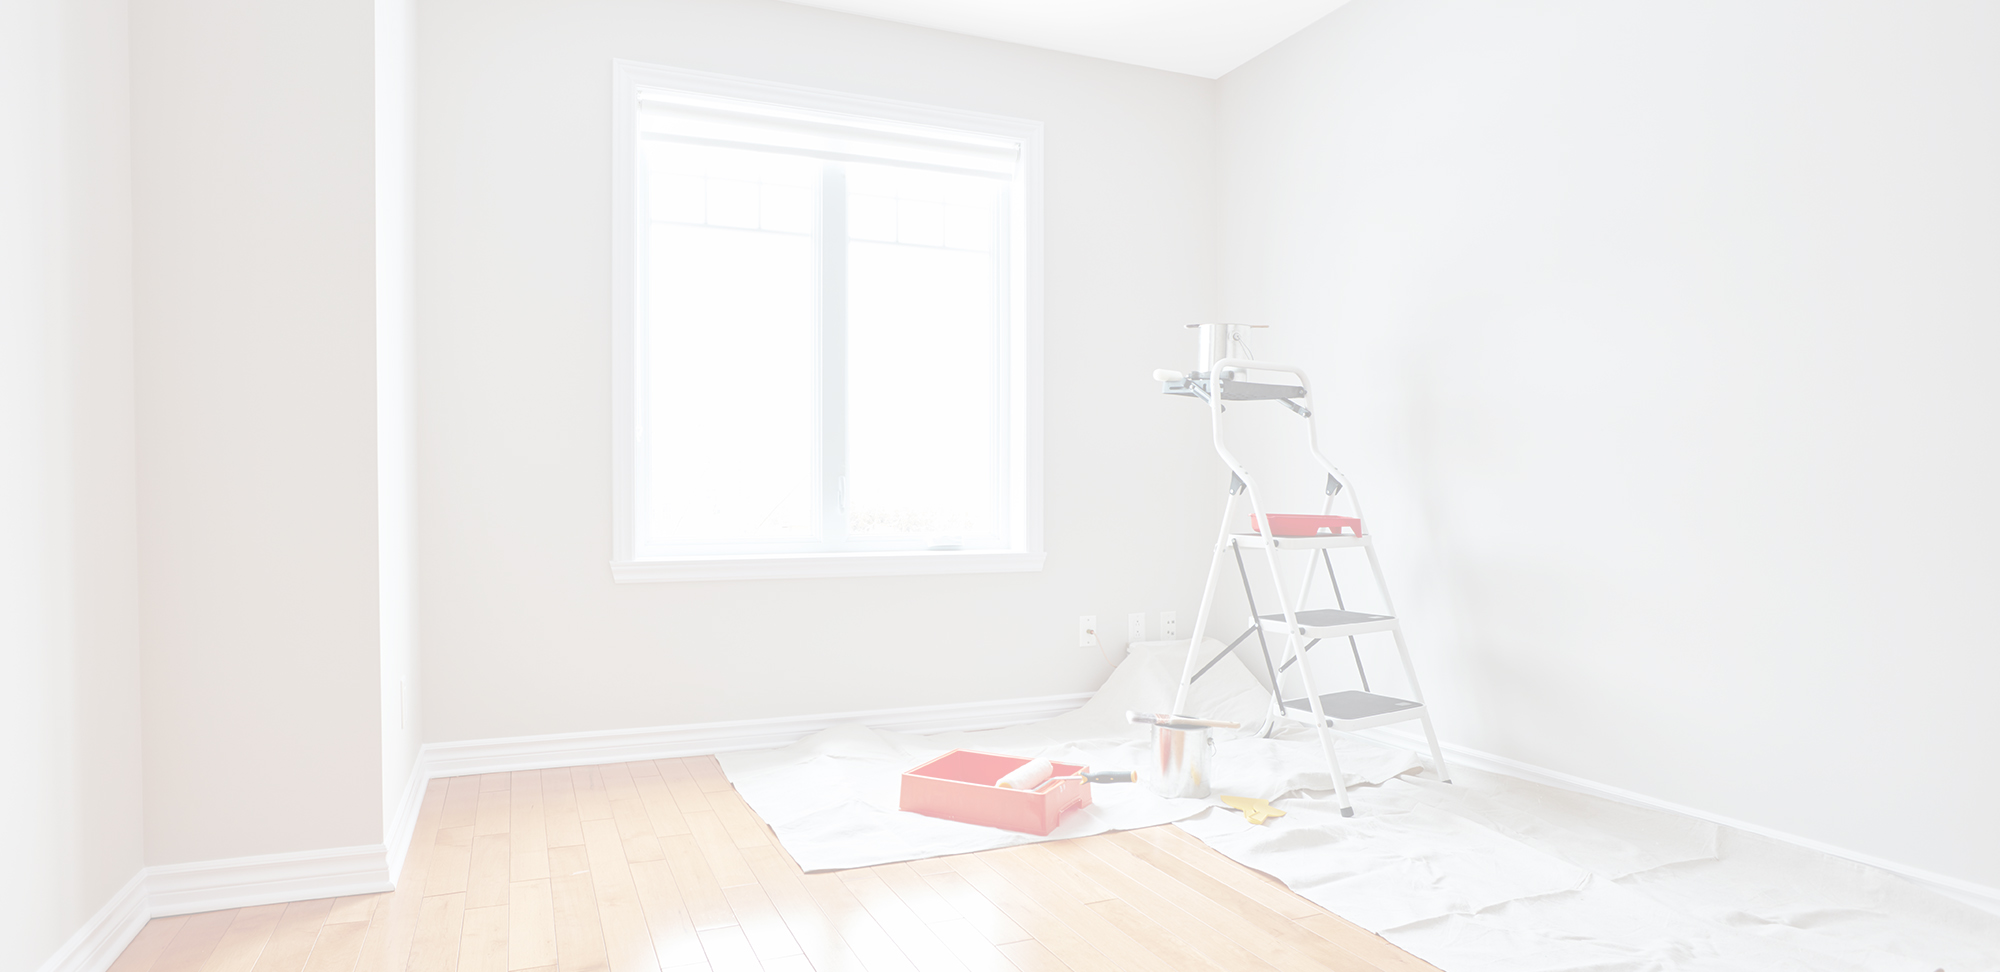
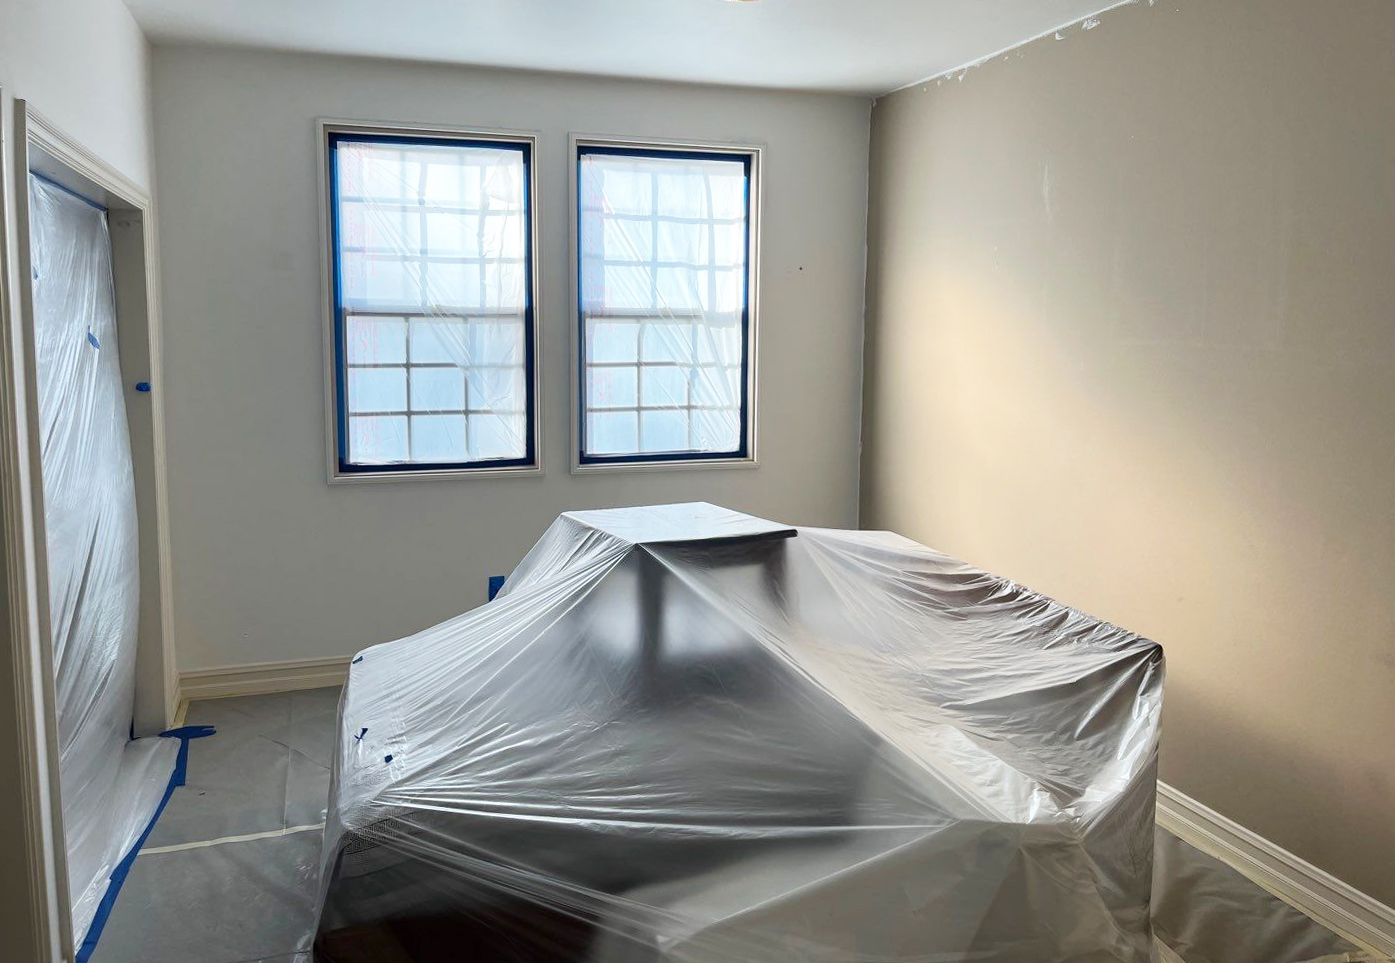
The room should be as empty as possible when preparing to paint a room. If you are physically able to and have the space, remove remaining objects such as desks, chairs, tables, recliners and other furniture from the room. If some objects are too large to move, such as couches or bed frames, your crew of professional painters will come equipped with tarps for guaranteed coverage. (If this paint prep is for your DIY project, you’ll need some tarps and tape.)
Lastly, take a look at your floor: Roll up and remove any area rugs, bath mats or other floor mats from the room. Your room is almost ready for paint!
Coverings
A fantastic painting service can be completely ruined if paint winds up on things it shouldn’t. No one wants to find a drop of paint on their furniture, floor, or family heirlooms, so tarps and other coverings are extremely important for interior paint prep.
Large Items
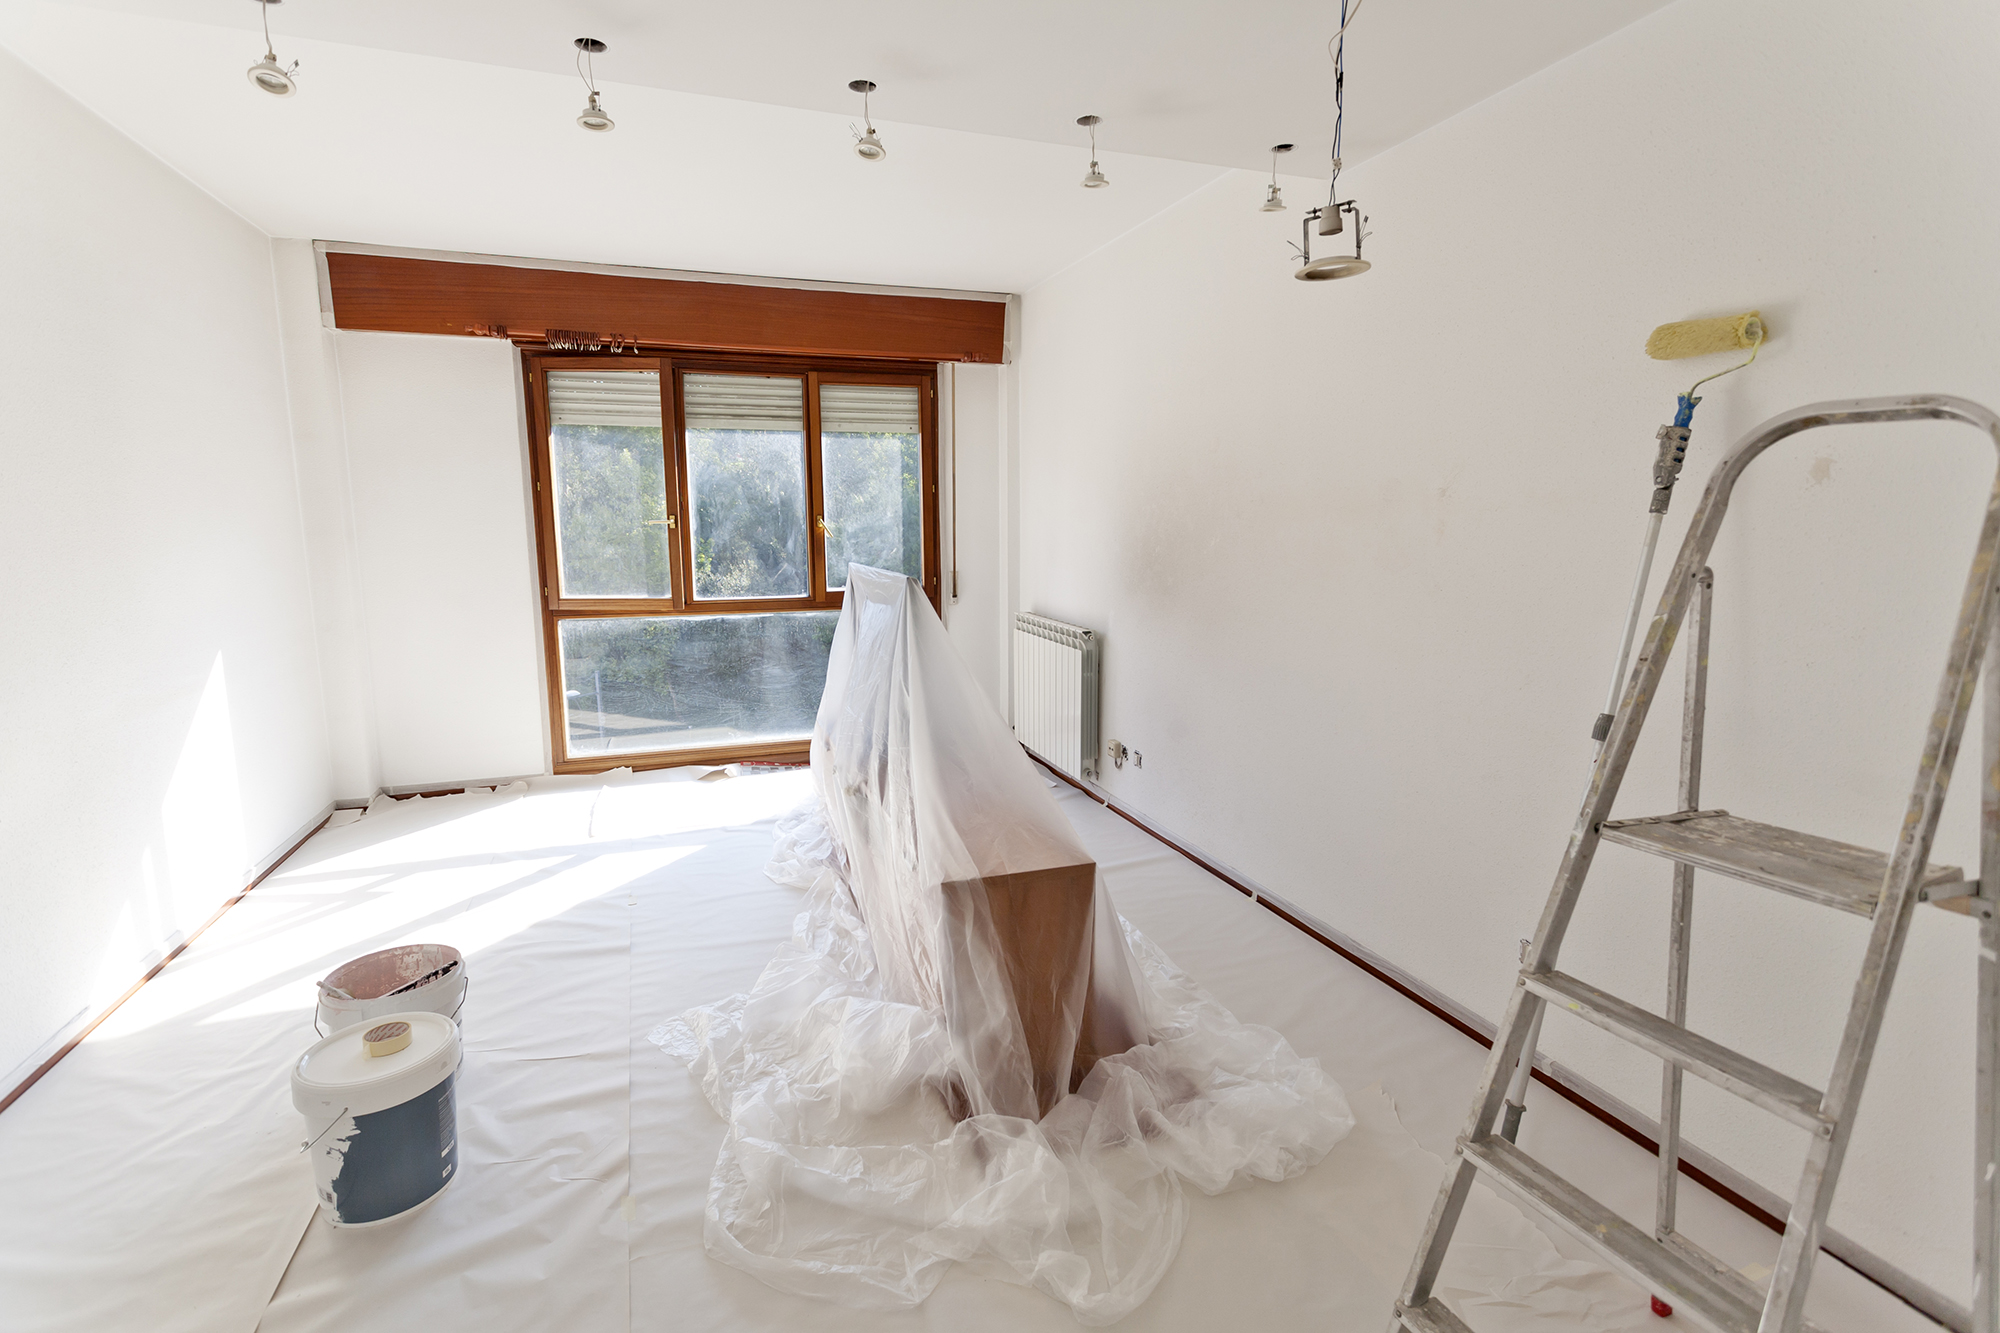
For the things that can’t be moved out of the room you’re preparing to paint, you’ll need to ensure they are entirely covered with a tarp or plastic. The painting company of your choice will come equipped with tarps to cover your belongings, or you can purchase tarps and cover your large furniture yourself.
Floor
Covering the floor is especially important since gravity is working against your paint. The floor beneath your painting area should be covered with a tarp, moving blanket, or rosin paper so your floors and/or carpet are protected during the duration of the painting project. The covering you choose should either be water resistant or thick enough so that any drips of paint will not soak through to the floor beneath.
If the ceiling is also going to be painted, the floor should be entirely covered to avoid any accidental drops of paint. The larger the room, the more material will be needed to cover it, which is why hiring a painting company with all of the materials on hand for interior paint prep is a surefire way to get complete coverage.
Taping
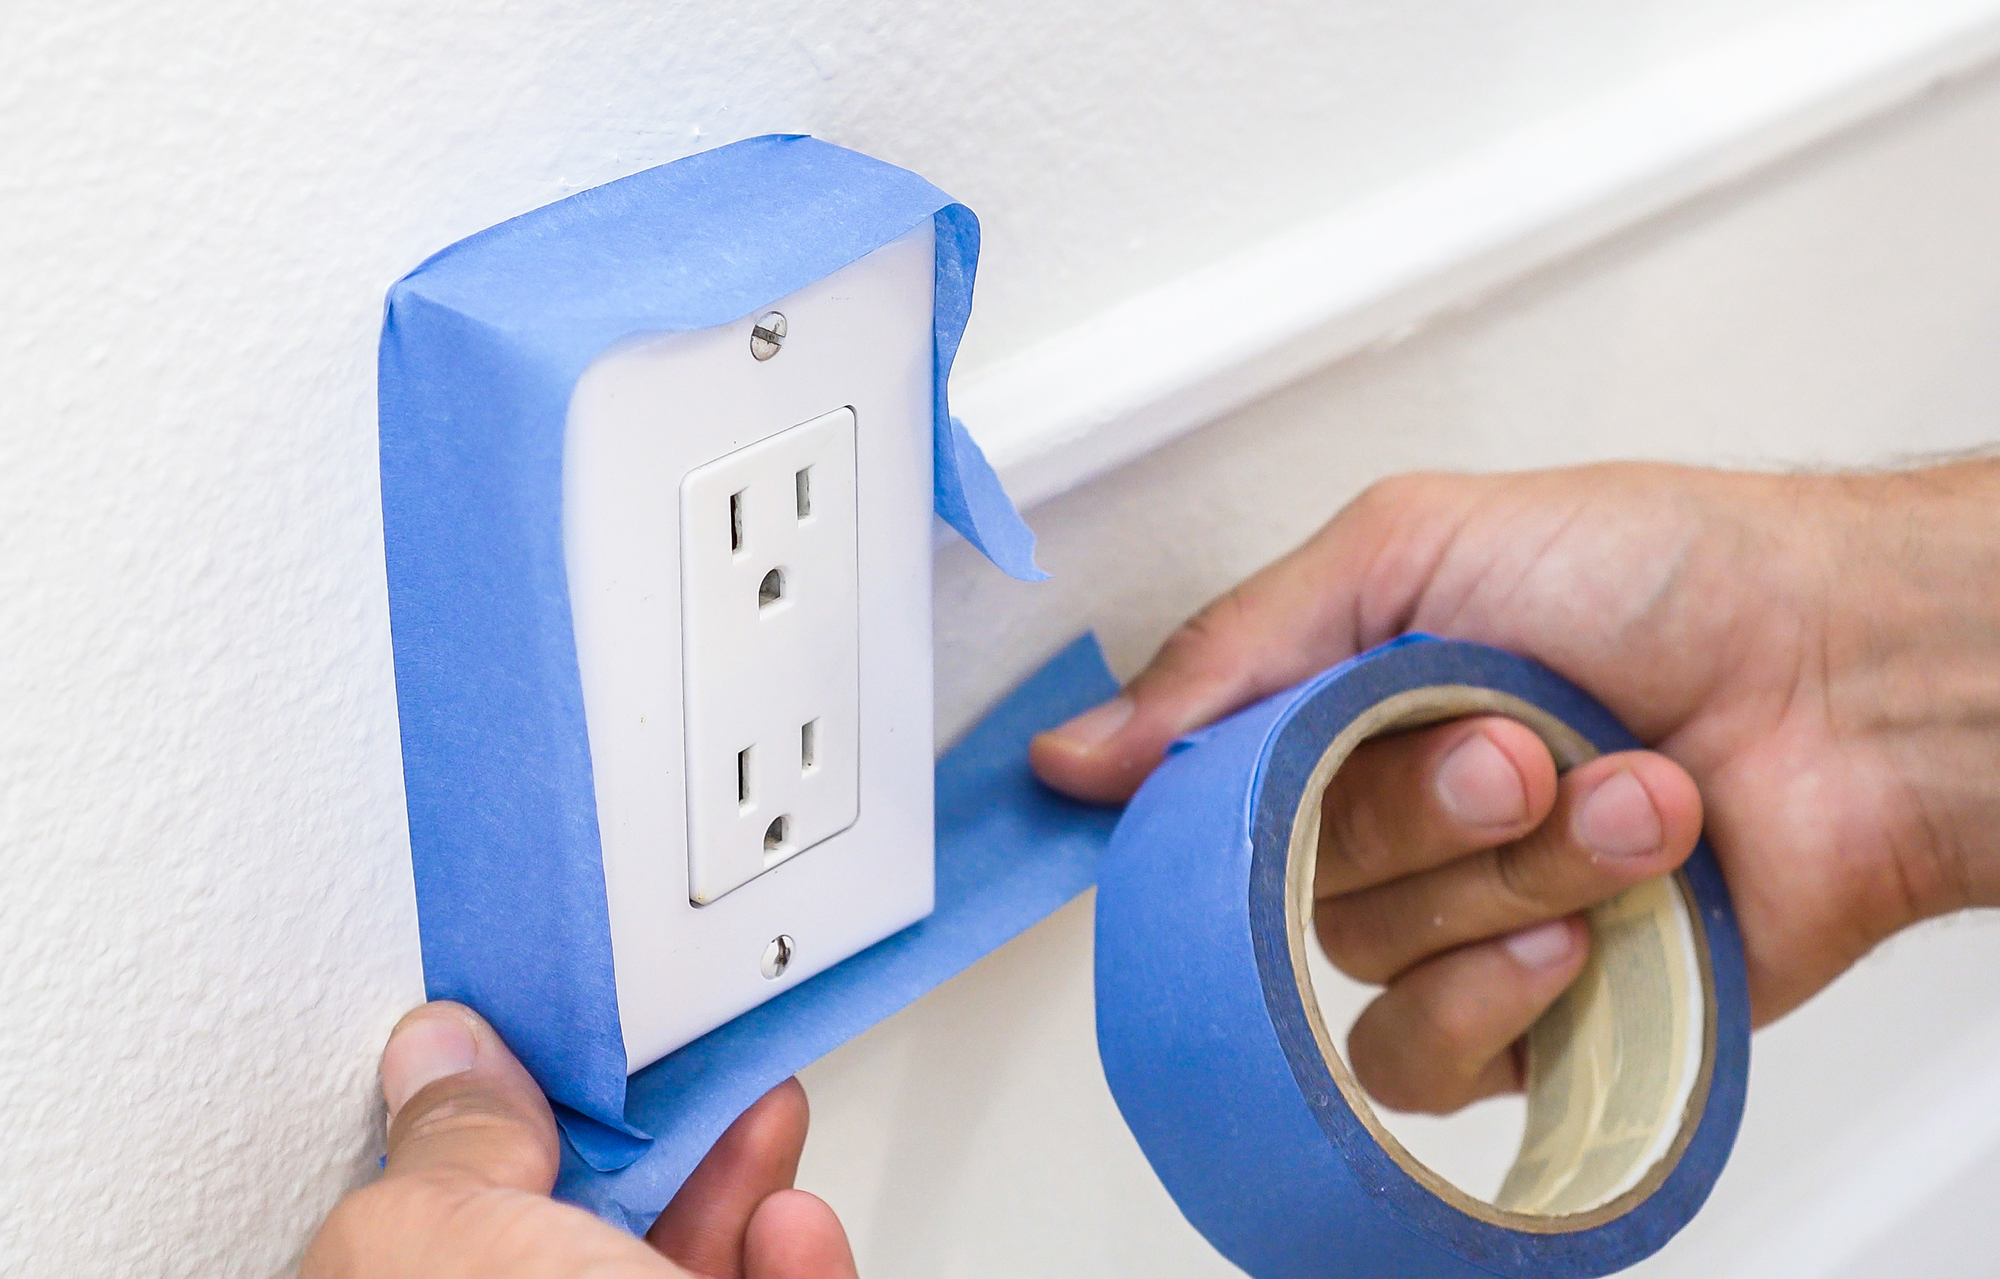
A practice you are most likely familiar with when it comes to paint prep is covering the wall trim with tape. There are other items you’ll want to protect with painter’s tape too, so we suggest making sure you have a full roll or two on hand.
As you go around the room, apply tape along the wall trim, baseboards, windows, etc. This takes precision and patience, but is worth the time. Covering other non-removable fixtures such as electrical switches and outlets is a good idea as well (painting around these will take more precision and patience.)
Final Check
Once you’ve completed all of these steps, you’re done preparing to paint a room! Take a last look around the room to check for anything that may have been overlooked. From here, all that’s left to do is prime and paint. (Need some inspiration? Check out our residential painting portfolio!)
Life Hack: You can skip all of these steps when you hire the right painting professionals who can do all of the interior paint prep for you!