How to Patch Drywall Before Painting: A Step-by-Step Guide
Even the best paint job can be ruined if the surface underneath is damaged. Whether you are dealing with nail holes, small dents, or larger gashes, repairing your drywall before painting is essential for a smooth, long-lasting finish.
At Precision Painting Plus, we have patched and painted thousands of walls for homeowners and businesses. We know that proper drywall repair is the foundation for a professional look. In this guide, we will walk you through how to patch drywall before painting, from small touch-ups to major repairs, and explain when it is best to call in professional drywall repair services.
Why Drywall Repair Matters Before Painting
Painting over damaged drywall may seem like a shortcut, but imperfections will only become more noticeable once the new paint is applied. Cracks, holes, and rough patches can affect how paint adheres and can lead to peeling or uneven coverage.
Repairing drywall before painting ensures:
- A smooth, uniform surface for better adhesion
- No visible bumps, cracks, or depressions
- Longer-lasting paint performance
- A polished, professional finish
Tools and Materials You Will Need
Before starting any drywall patching project, gather the right tools and supplies:
- Utility knife
- Sanding sponge or fine-grit sandpaper (120–150 grit)
- Putty knife (2-inch for small repairs, 6-inch for larger patches)
- Joint compound or spackle
- Drywall patch kit or mesh tape
- Drywall screws (for larger repairs)
- Primer
- Dust mask and safety goggles
Having the right materials ready will make the repair process faster and cleaner.
Step 1: Inspect and Prepare the Damaged Area
Start by examining the damage. Determine whether you are repairing:
- Small holes from nails, screws, or wall anchors
- Cracks caused by settling or minor movement
- Medium holes from doorknobs or accidental impacts
- Large holes requiring patching or replacement
Remove any loose debris, peeling paint, or damaged drywall around the hole. For cracks, use a utility knife to widen the crack slightly so the repair compound can adhere better.
Step 2: Repairing Small Holes and Dents
For holes less than half an inch wide, spackle is usually all you need:
- Use the putty knife to apply a small amount of spackle directly into the hole.
- Press firmly to fill the space and scrape away excess.
- Allow it to dry according to the product instructions.
- Lightly sand the area until smooth and flush with the wall.
This simple method works well for common issues like nail pops, picture hook holes, and minor dents.
Step 3: Fixing Cracks in Drywall
Cracks often appear near windows, doors, or corners due to movement in the home. To repair them:
- Widen the crack slightly with a utility knife.
- Apply drywall tape or mesh over the crack for reinforcement.
- Spread joint compound over the tape, feathering the edges to blend into the wall.
- Let it dry, sand lightly, and apply a second coat if needed.
Taping prevents cracks from reappearing and creates a seamless finish.
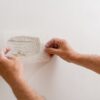
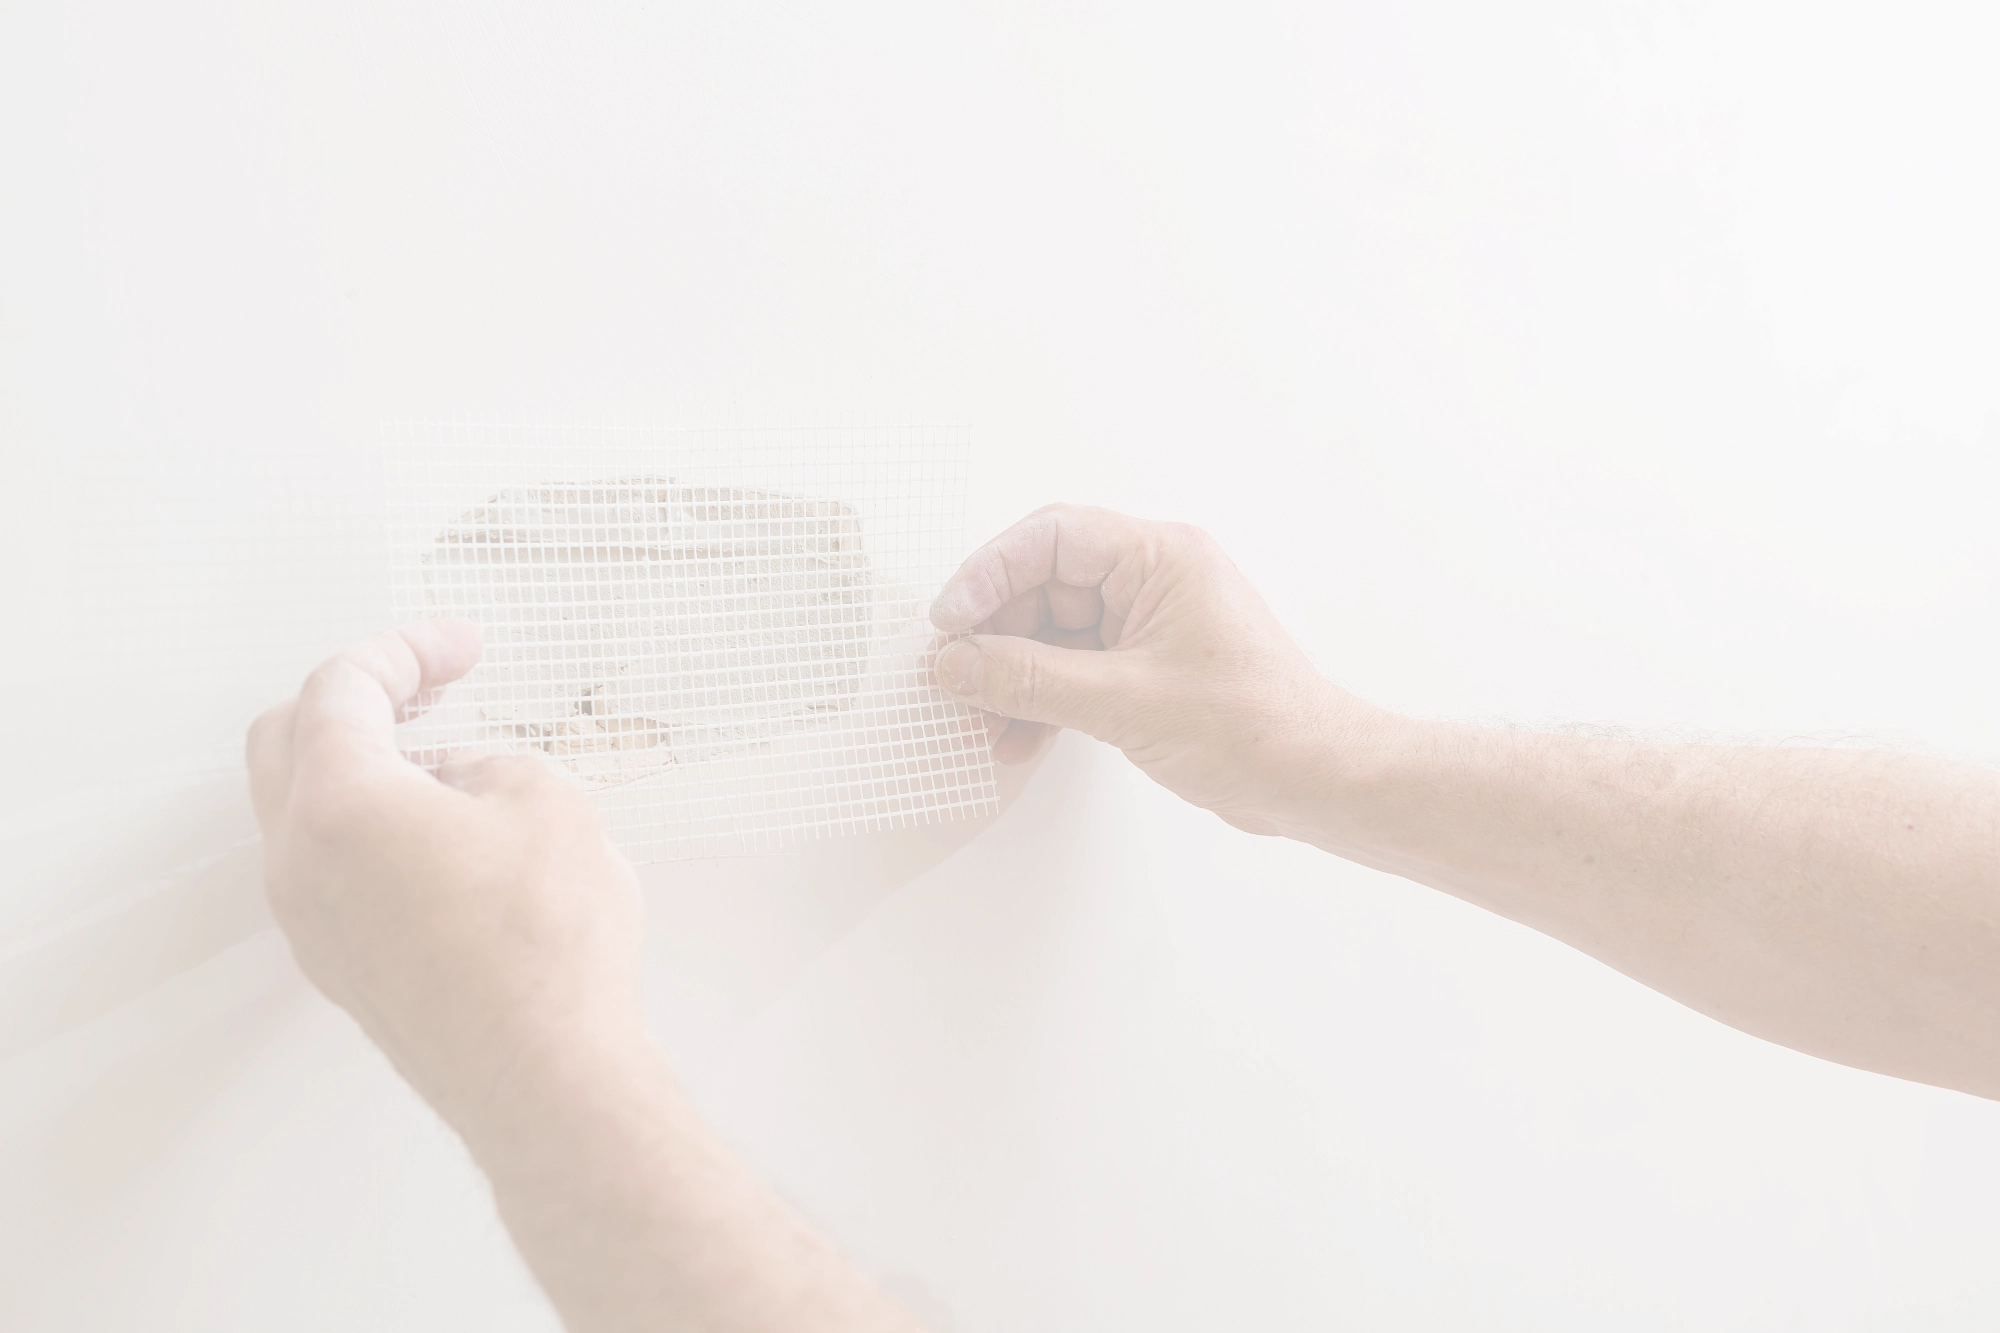
Step 4: Patching Medium Holes
For holes up to 6 inches, use a self-adhesive mesh patch:
- Place the patch over the hole, making sure it covers the damaged area completely.
- Apply a layer of joint compound over the patch, smoothing it outward to blend with the wall.
- Let it dry, sand smooth, and apply additional coats as needed.
Mesh patches are easy to work with and provide strong support for the repair.
Step 5: Repairing Large Holes
Large holes or severely damaged sections of drywall require more extensive repairs:
- Cut a square around the damaged area using a drywall saw.
- Cut a new piece of drywall to fit the opening.
- Secure the new piece to wall studs or support strips with drywall screws.
- Apply mesh tape over the seams.
- Spread joint compound over the taped seams, feathering the edges.
- Sand smooth after each coat until the repair blends perfectly.
This method is more labor-intensive, but it restores the wall’s strength and integrity.
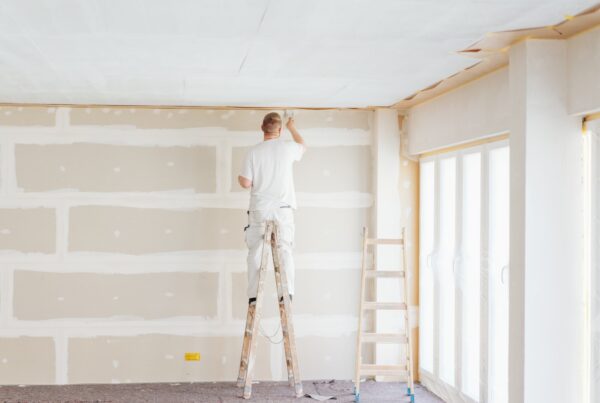
Step 6: Sanding and Priming
Once the patched area is dry, sanding is critical for creating a smooth surface. Use fine-grit sandpaper to remove ridges and blend the repair with the surrounding wall.
Always prime the patched area before painting. Primer seals the joint compound, prevents flashing, and ensures the paint color applies evenly.
Common Mistakes to Avoid
- Skipping primer: This often results in noticeable patch marks.
- Overfilling holes: Leads to excess sanding and uneven texture.
- Using the wrong compound: Lightweight spackle is fine for small holes, but larger repairs require joint compound.
- Not feathering edges: Creates visible ridges after painting.
When to Call a Professional
While many small repairs can be handled by homeowners, some situations are best left to a professional painting company like Precision Painting Plus:
- Large or multiple areas of damage
- Water or mold damage
- Structural issues causing recurring cracks
- Tight timelines that require fast, high-quality work
Our professional drywall repair services ensure the job is done right the first time, saving you time and frustration.
The Bottom Line
Knowing how to patch drywall before painting can make a huge difference in your final results. From small nail holes to larger repairs, proper preparation is the key to a flawless paint finish.
If you are unsure about tackling the work yourself or want guaranteed results, Precision Painting Plus can handle everything from drywall repair to expert painting services. We bring the right tools, techniques, and attention to detail so your walls look perfect and your paint lasts for years.
Ready to get started? Contact us today. We at Precision Painting Plus would love to help with your next project and ensure your walls are smooth, beautiful, and ready for a fresh coat of paint.