A fresh coat of paint can be an easy and inexpensive way to makeover a room without the cost or commitment of a furniture splurge. Almost anyone can do a basic interior paint job with professional-looking results, and while accidents do happen, most DIY painting horror stories can be chalked up to either a lack of preparation, or improper preparation.

Some of these mistakes are the result of misused painters tape. Before you pull out afresh roll of your favorite pressure-sensitive adhesive, you might be surprised to learn that not all professionals use tape.
In theory, painters tape can be used to keep ceiling, baseboard, and window edges razor-sharp. But in practice, taping can add unnecessary time and work, and produce sub-par results. The major issue with taping is false confidence. Taping is often used as a shortcut, but by thinking the tape is doing all the work to keep edges clean, it’s easy to get sloppy and end up with the most common DIY painting regrets: unwanted spots, and lines of the old paint showing along edges.
When taking on a painting project solo, you’ll find that one major problem with taping edges is that it’s virtually impossible to get a single strip of tape perfectly straight along any wall longer than arm’s width. The line you end up with, as a result, is fragmented, and can end up zigzagging—something that’s hard to eyeball with the tape itself, but when you pull the tape off, will become obvious.
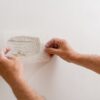
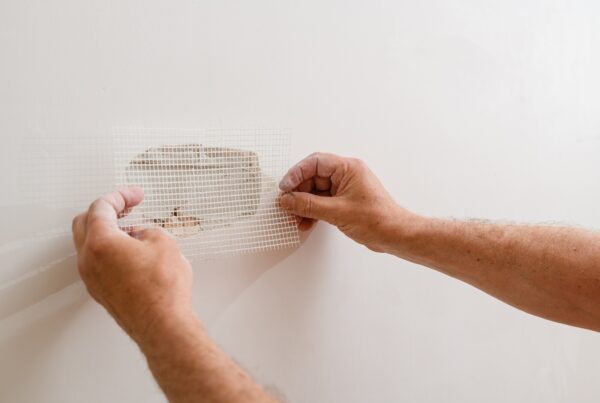
Windowsills can also present challenges for tape. The decorative ridges around sills can be tedious to tape, forcing you to deal with tiny scraps of the stuff just to get all the nooks and crannies covered. Removing all these tape pieces then presents its own set of problems, as small bits may get painted over and make a mess as you try to remove them.
Unless you’re working with a team, you might be pretty beat after painting an entire room. Letting your guard down while taking down longer strips of tape can leave drag marks, as paint-smeared tape falls against freshly painted walls. And, if your paint has started to dry, chips can come up along with the tape as you remove it.
SO HOW CAN YOU SAVE YOURSELF TIME AND FRUSTRATION AND STILL GET THOSE PROFESSIONAL-LOOKING EDGES?
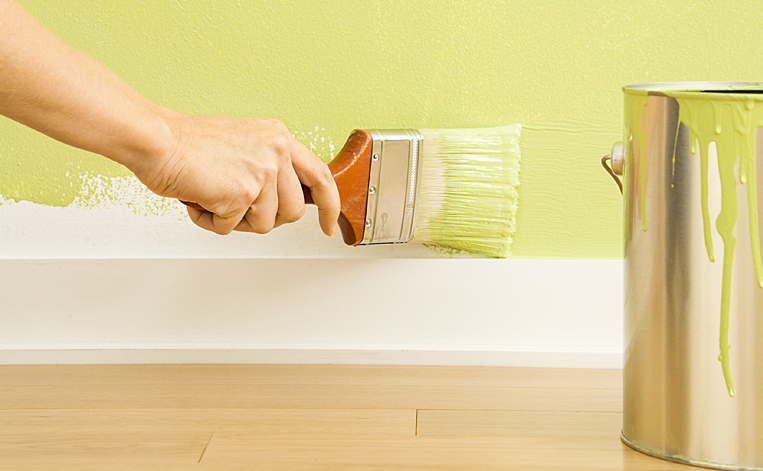
Simply paint your edges by hand. Using a chisel trim brush, carefully paint your edges about a brush’s width. It takes about the same amount of energy and focus as taping, but without the extra work. You’ll be able to work with any natural inconsistencies that your wall may have, camouflage any flaws left behind from previous paint jobs, and be confident your edges won’t get any last-minute glitches in the final stages.
Once your edges are painted, switch to a roller to do the main portion of the wall, as usual. Roll as close to the edges as you can to blend any brush marks. (You should be able to overlap at least half the width of your painted edges.)
You would be amazed at how much time and energy you can save by ditching the tape.
SO WHAT IS PAINTER’S TAPE GOOD FOR?
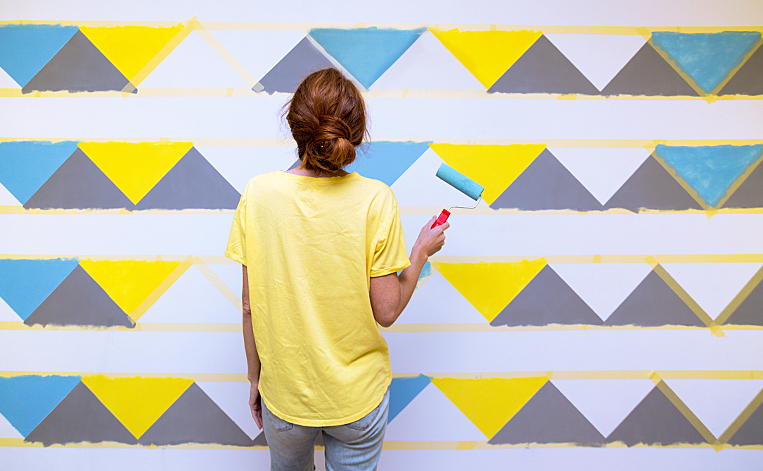
Stripes—painting stripes can be a fun way to spice up a room, but absolutely cannot be rushed. Using painter’s tape in conjunction with a tape measure, level, and pencil, will keep your stripes nice and clean.
When carefully applied, tape can also be good for small, simple windowsills, shelves, or other smooth, wide edges protruding from the surface you’re painting.
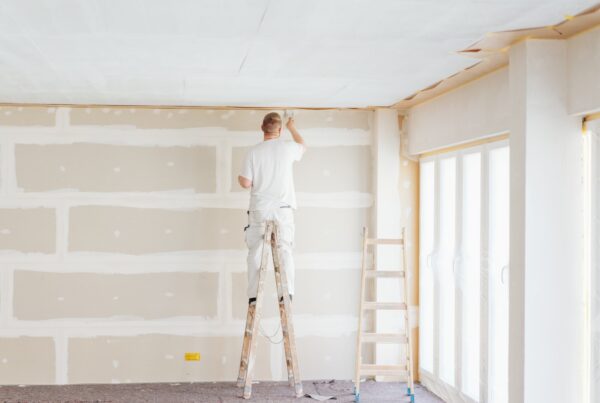
Lastly, using painter’s tape is ideal for securing plastic sheeting over things like stove
Hoods, especially if you’re painting a ceiling. Painter’s tape is the perfect tool for making sure plastic sheeting over fixtures isn’t going anywhere.
While it may feel risky to go against the tradition of using tape, I’m a firm believer that the freehand method seriously pays off. You’ll have full control and fresh results with less hassle. Consider giving it a try during your next painting project.